PS2 BIOS USA (NTSC-U) – Safe Download & Setup for PCSX2 and AetherSX2

If your emulator is not running games, this is usually the missing part. A PS2 BIOS USA file allows your emulator to behave like a real PlayStation 2. Without it, your system cannot start games, no matter how powerful your device is. Many users get stuck here. They install an emulator, load a game, and nothing happens.
This happens because the emulator needs the original system firmware to function properly. The PS2 BIOS USA, also called NTSC-U, is the most commonly used because it supports a wide range of games. It also works smoothly with popular emulators like PCSX2 on PC and AetherSX2 on Android, which makes it the safest choice for beginners.In this guide, you will learn:
What Is PS2 BIOS USA File?
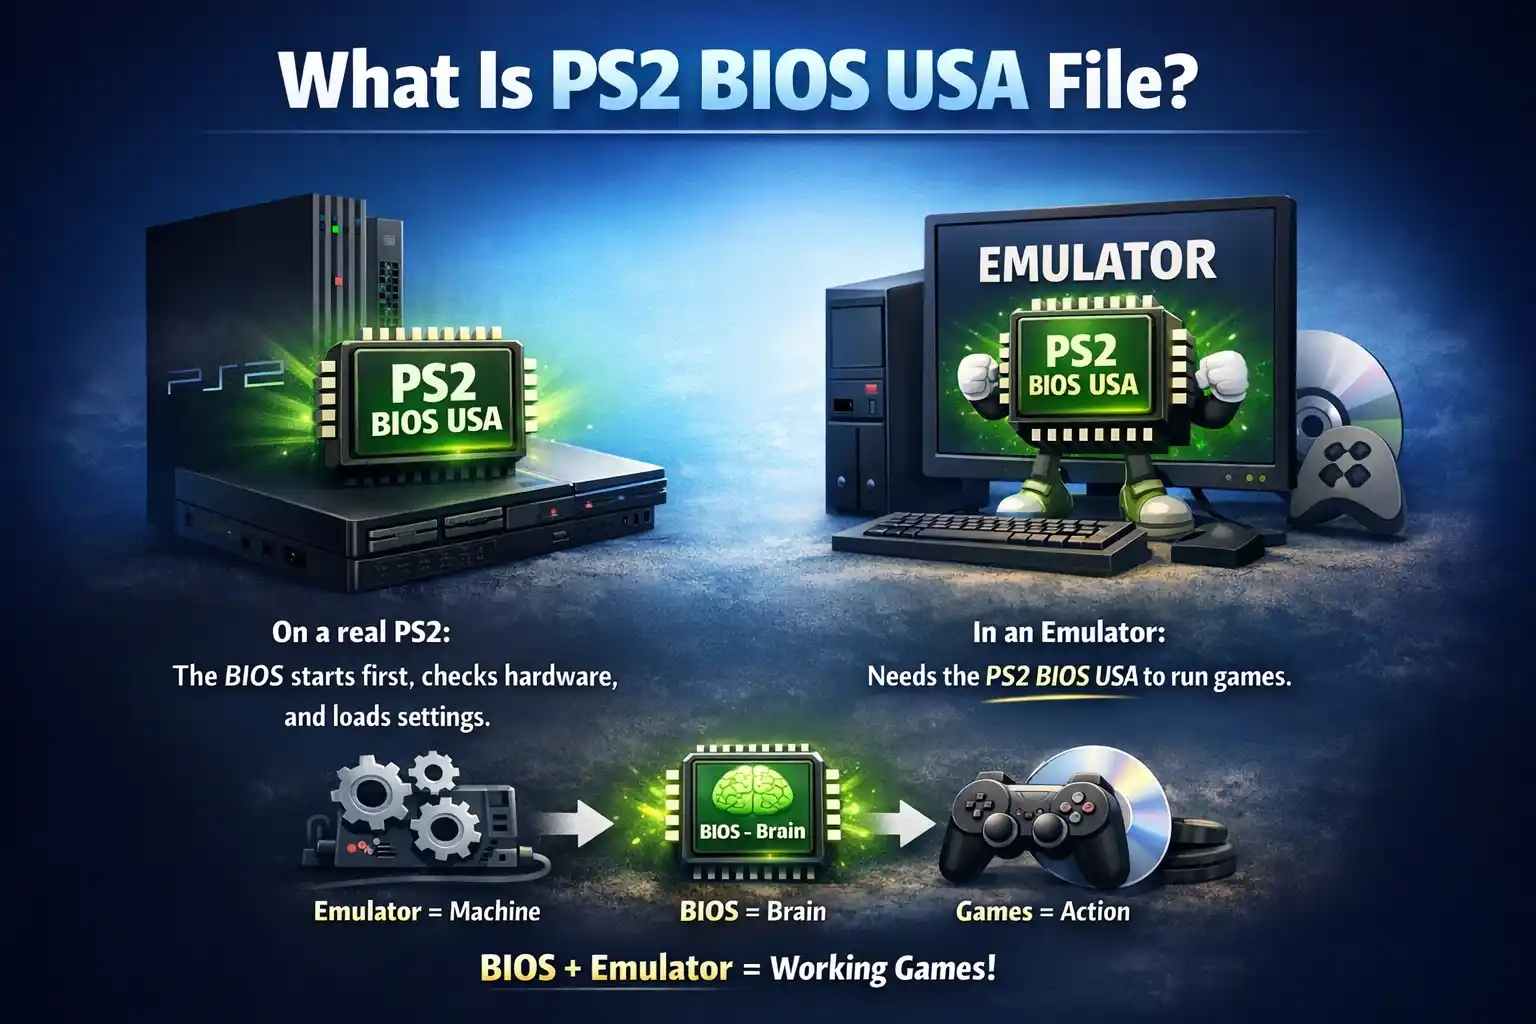
A PS2 BIOS USA file is the core system software of the PlayStation 2 console. When you turn on a real PS2, the BIOS runs first. It checks the hardware, loads system settings, and prepares the console to run games.
An emulator tries to copy this behavior, but it cannot do it alone. It needs the PS2 BIOS USA file to function properly and run games smoothly. Think of it like this:
- NTSC-U (USA)
- PAL (Europe)
- NTSC-J (Japan)
- Slow gameplay
- Glitches
- Game not starting
Why Your Emulator Won’t Work Without bios
This is one of the most common problems beginners face. If the BIOS file is missing or not set correctly, your emulator may show errors like “BIOS not found,” a black screen, games stuck on loading, or even sudden crashes.
These issues can be confusing, but the reason is simple. The emulator has no system instructions to follow without the BIOS. Once you add the correct file and place it in the right folder, most of these problems get fixed right away.
Why the USA Version Works Best
The USA version, also called NTSC-U, is widely used for one main reason: compatibility.
Most popular PS2 games were released in the USA region. Because of this, they work smoothly with the USA BIOS.
Another reason is tutorials. Almost every setup guide online uses this version. That means you will face fewer issues when following instructions.
How to Legally Obtain the PS2 BIOS USA
You might be wondering, “Where can I get it legally?” Well, the answer is simple you can simply download it from this site, but if you want other ways so it requires some extra steps.
Dumping from Your Console
The best way to legally obtain the PS2 BIOS USA is by dumping the BIOS directly from your own PlayStation 2 console. This process involves extracting the BIOS from your PS2 and saving it to a file on your computer. There are tools available that make this process easy, and it ensures you’re using a legitimate copy.
Legal Considerations
It’s essential to understand the legal considerations when downloading and using the PS2 BIOS USA. Legally, you must own the original PlayStation 2 console in order to use the BIOS legally. Downloading it from unofficial sources or websites that host BIOS files without permission may violate copyright laws. Always ensure you’re using trusted and legal methods to obtain your BIOS file.
Download PS2 BIOS USA (Latest Working File)
- Has a small size (a few MB)
- Comes in .bin format
- Works without extra setup
- BIOS file (.bin)
- Sometimes multiple versions
- Supporting files
- SCPH-39001 → Very stable on PC
- SCPH-70012 → Good for Android
- SCPH-90001 → Newer and flexible
Tested PS2 BIOS USA Versions (SCPH Models)
Here are reliable models used by most users:
| Model | Best Use | Notes |
|---|---|---|
| SCPH-39001 | PCSX2 | Stable and widely used |
| SCPH-70012 | AetherSX2 | Good performance on mobile |
| SCPH-90001 | Mixed use | Works on most setups |
You don’t need all of them. One working file is enough to start.
Use It on Your Device
You can run this file on different devices. The setup is simple once you understand the process.
- Download the BIOS file
- Extract the ZIP file
- Open PCSX2
- Go to BIOS settings
- Select the folder where the file is stored
- Save and restart
- Download the BIOS file
- Extract it using a file manager
- Open AetherSX2
- Tap “Import BIOS”
- Select the file
- Place the file in the BIOS directory
- Open emulator settings
- Select the file manually
How to Set It Up Properly
Many users rush this step. That causes errors later. Take a moment and follow this order:
- Download a clean file
- Extract it fully
- Place it in the correct folder
- Select it inside emulator
- Restart emulator
Do not skip steps. Even a small mistake can cause the setup to fail.
Fix Common Problems Fast
Let’s go through real issues users face.
- File is still zipped
- File is in the wrong folder
- Emulator cannot access the folder
- Missing BIOS
- Corrupt BIOS file
- Broken game file
- BIOS compatibility
- Game file quality
- Emulator settings
Is This File Safe?
Yes, but only if you download carefully. Some websites try to trick users with fake buttons or extra software. Always:
- Download from clean sources
- Avoid popups
- Ignore fake “download” ads
Where Most People Go Wrong
Most mistakes are simple:
- Not extracting files
- Using wrong folder
- Downloading broken files
Tip: Fix these basics first before trying advanced solutions.
Best Settings for Smooth Gameplay
After setup, performance matters.
- Start with default settings
- Increase resolution slowly
- Enable speed hacks only if needed
- Use lower resolution for better speed
- Turn off heavy graphics effects
- Keep frame rate stable
- GTA San Andreas
- God of War
- Resident Evil 4
- USA → Best compatibility
- Europe → Slower speed
- Japan → Limited language support
FAQs
Final Thoughts
Most emulator problems are actually quite simple. Many users assume something is broken, but in most cases, the issue comes down to just a few common mistakes with the PS2 BIOS USA file.
These usually include a missing PS2 BIOS USA file, incorrect setup, or files placed in the wrong location. Once you address these issues, your emulator will start working properly.
Take your time and follow each step carefully when setting up the PS2 BIOS USA. Doing so ensures smooth gameplay without any unnecessary stress.