RetroArch PS2 BIOS Download & Installation Guide

Do You Really Need a RetroArch PS2 BIOS to Run Games?
If you’ve ever tried booting a PlayStation 2 game on RetroArch and ended up staring at a black screen, chances are you skipped one critical step: download RetroArch PS2 BIOS and install it correctly.Without the BIOS file, your emulator won’t run properly. This guide covers the RetroArch PS2 setup guide explaining how to add, configure, and avoid common errors.
RetroArch’s PS2 core, also known as PCSX2 libretro, isn’t as simple as plug-and-play like older consoles. The BIOS works as the “startup brain” of the PS2, replicating the original console’s operating system, region settings, and hardware initialization. Without the RetroArch PS2 BIOS, RetroArch can’t interpret your PS2 game ISO, no matter how perfect the rip is.
So yes, if you’re asking “Do I need a PS2 BIOS for RetroArch?”, the answer is a big YES. In fact, learning how to add the BIOS to RetroArch is the single most important step of the entire setup process. Once the BIOS is correctly configured, running your favorite PS2 classics becomes smooth and hassle-free.
How to Add RetroArch PS2 BIOS on Android & iOS
Setting up PS2 emulation on RetroArch mobile can feel overwhelming, but this step-by-step install PS2 BIOS in RetroArch tutorial makes it simple. Whether you’re on Android or looking for a PS2 BIOS iOS download, these instructions ensure smooth gameplay.
When it comes to the RetroArch PS2 BIOS, not all versions are created equal. Depending on your location or the region of the games you want to play, you’ll need to make sure you’re using the correct BIOS file. Let’s explore the most common ones:


What Exactly Is RetroArch?
RetroArch is like the Swiss Army knife of emulation. Instead of installing multiple emulator apps, RetroArch uses “cores,” which are small modules for each console.
For PlayStation 2, it uses the PCSX2 libretro core (LRPS2), a mobile-optimized version of the famous PCSX2 emulator used on PC. To make this core work properly, you’ll also need the RetroArch PS2 BIOS, since it’s required to boot and run PS2 games smoothly on the platform.
Key Features of RetroArch on Android & iOS:
Why Add RetroArch PS2 BIOS?
Using the correct RetroArch PS2 BIOS also improves compatibility with demanding titles like Gran Turismo 4 and Final Fantasy X. If your RetroArch PS2 games not working, or you see a black screen, the BIOS is often the solution.
The BIOS contains Sony’s original console code, which the PS2 core uses to:
Using the correct RetroArch PS2 BIOS also improves compatibility with demanding titles like Gran Turismo 4, Final Fantasy X, and other classics that require accurate hardware emulation.
💡 Pro Tip: You can store multiple BIOS files (US, EU, JP) in the same folder. RetroArch automatically detects and selects the right one based on the game’s region.
Steps to Add PS2 BIOS to RetroArch on Android & iOS
Follow these steps carefully, and you’ll have PS2 games running on your phone within minutes. This method works the same for both Android and iOS, as long as you have the RetroArch PS2 BIOS properly set up.
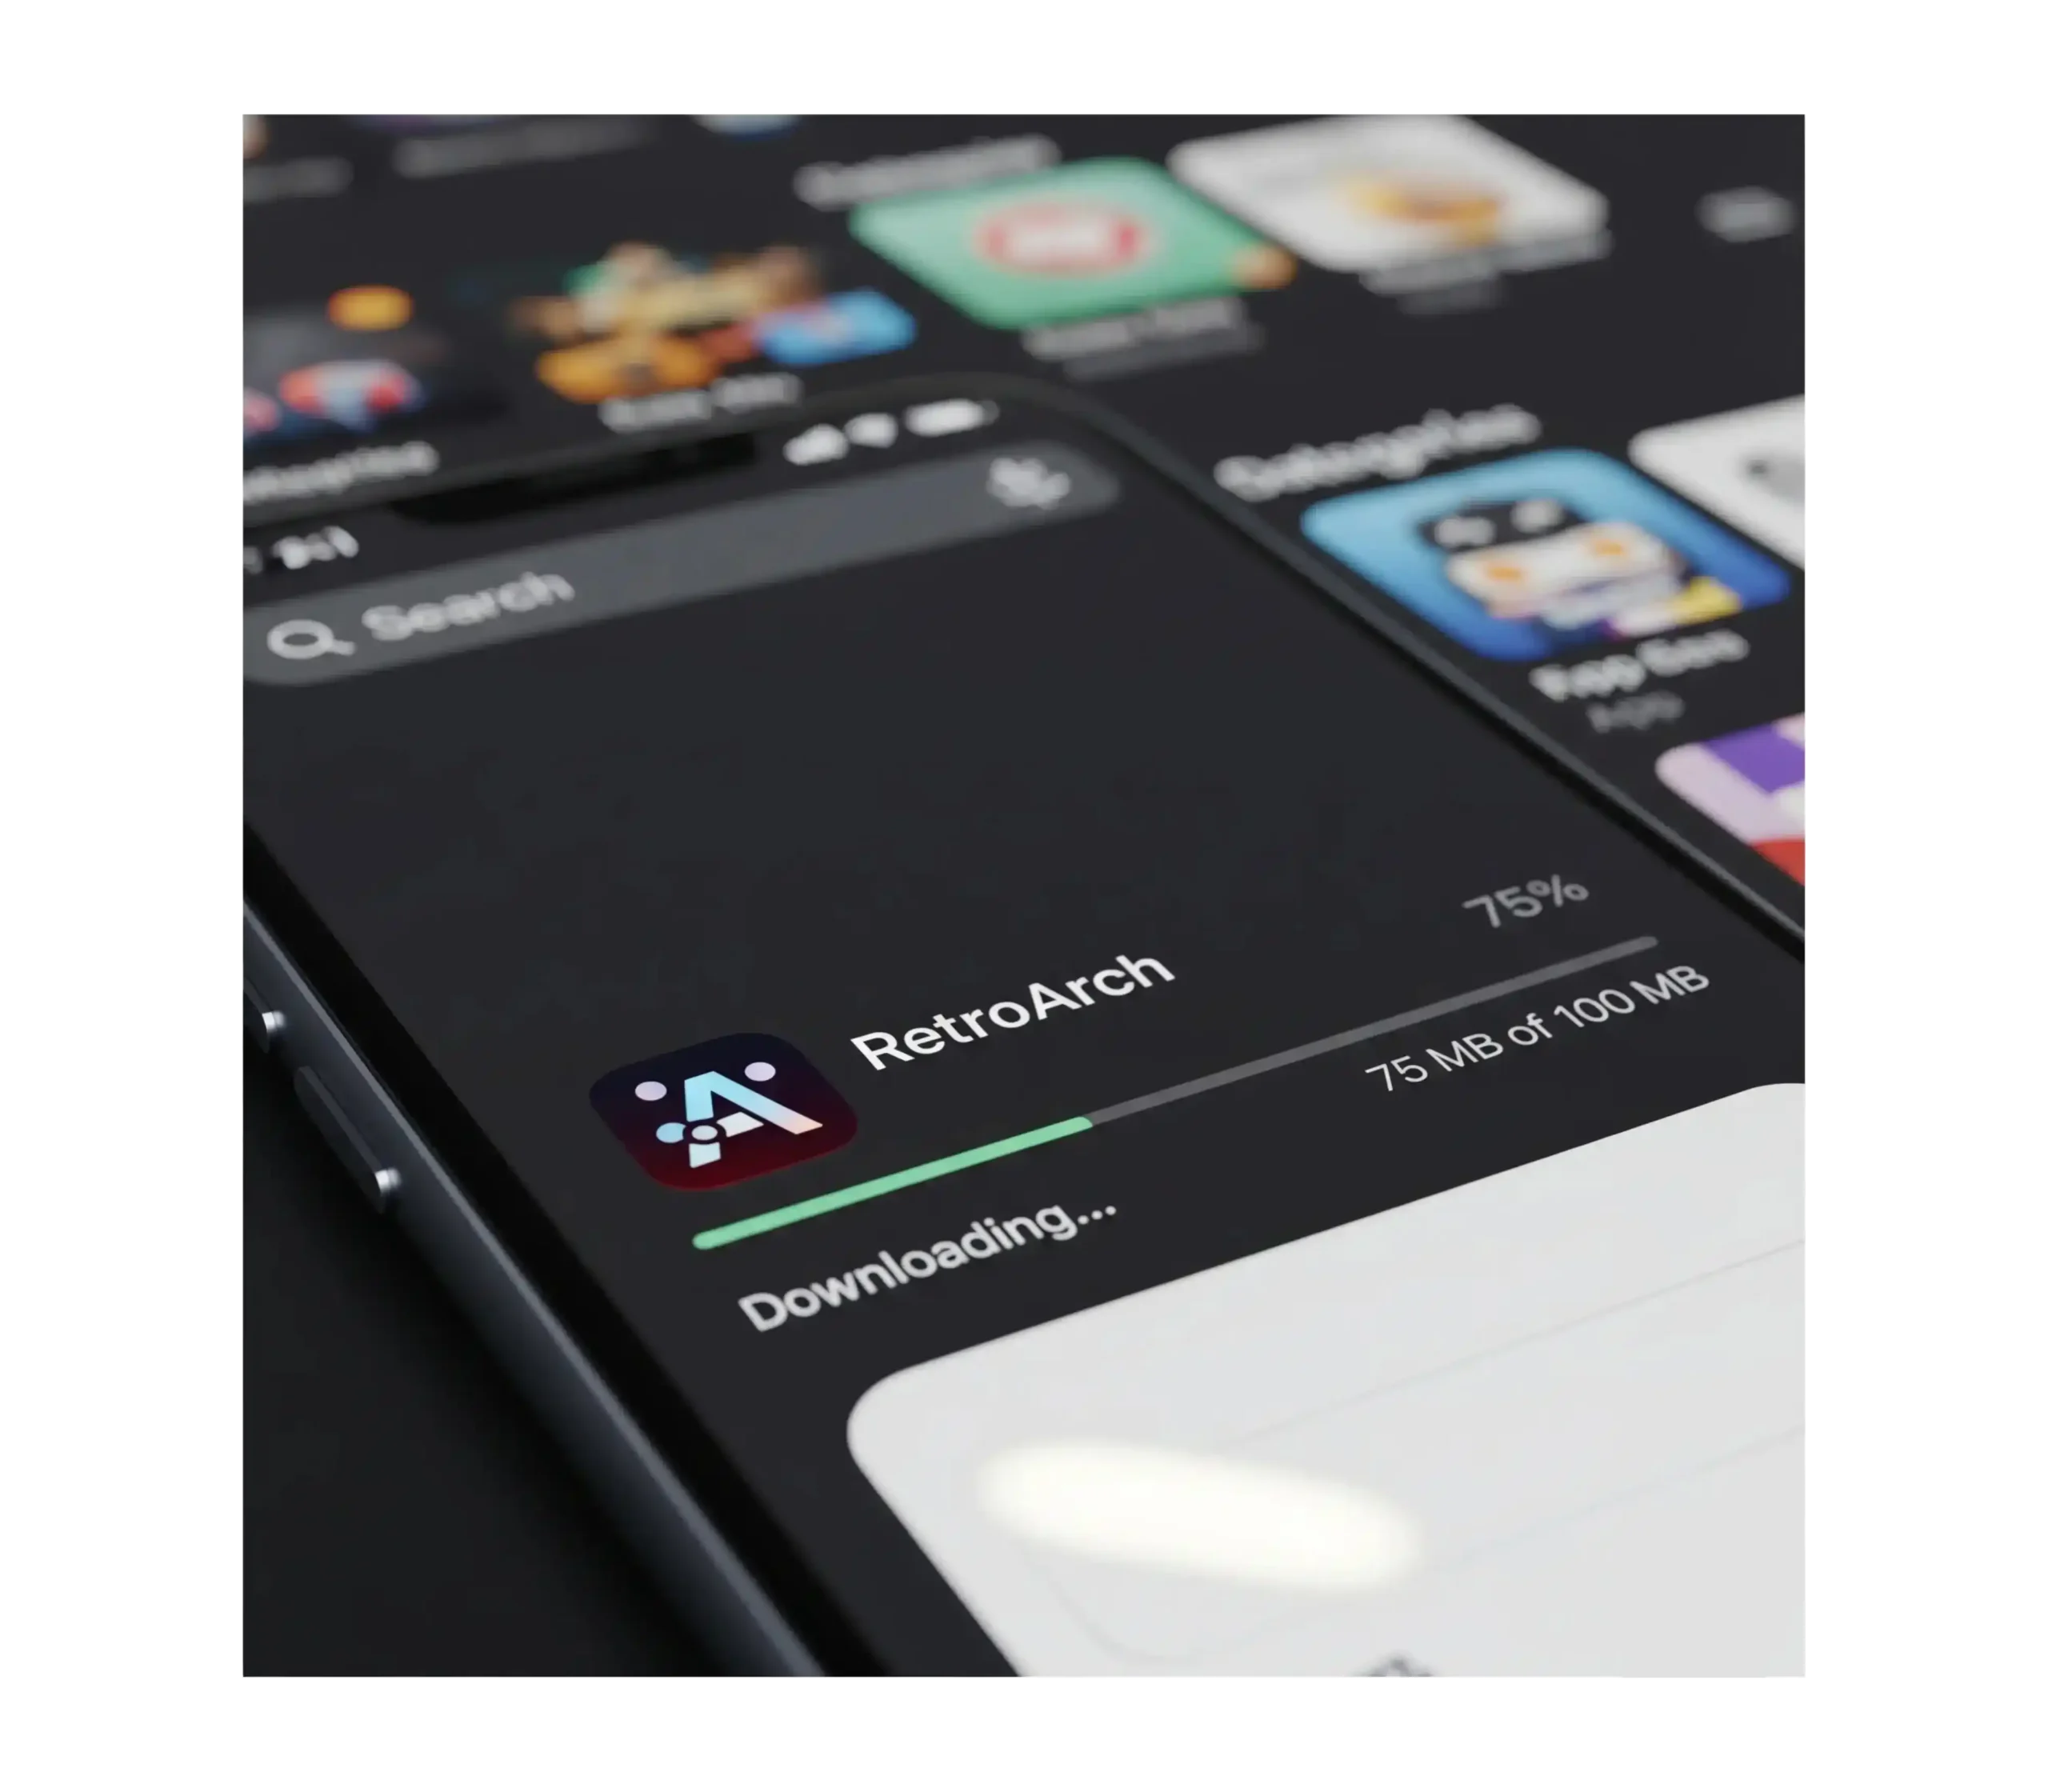
Step 1 – Download and Install RetroArch

Step 2 – Download the PS2 BIOS File
Step 3 – Install the PS2 Core (PCSX2 libretro)
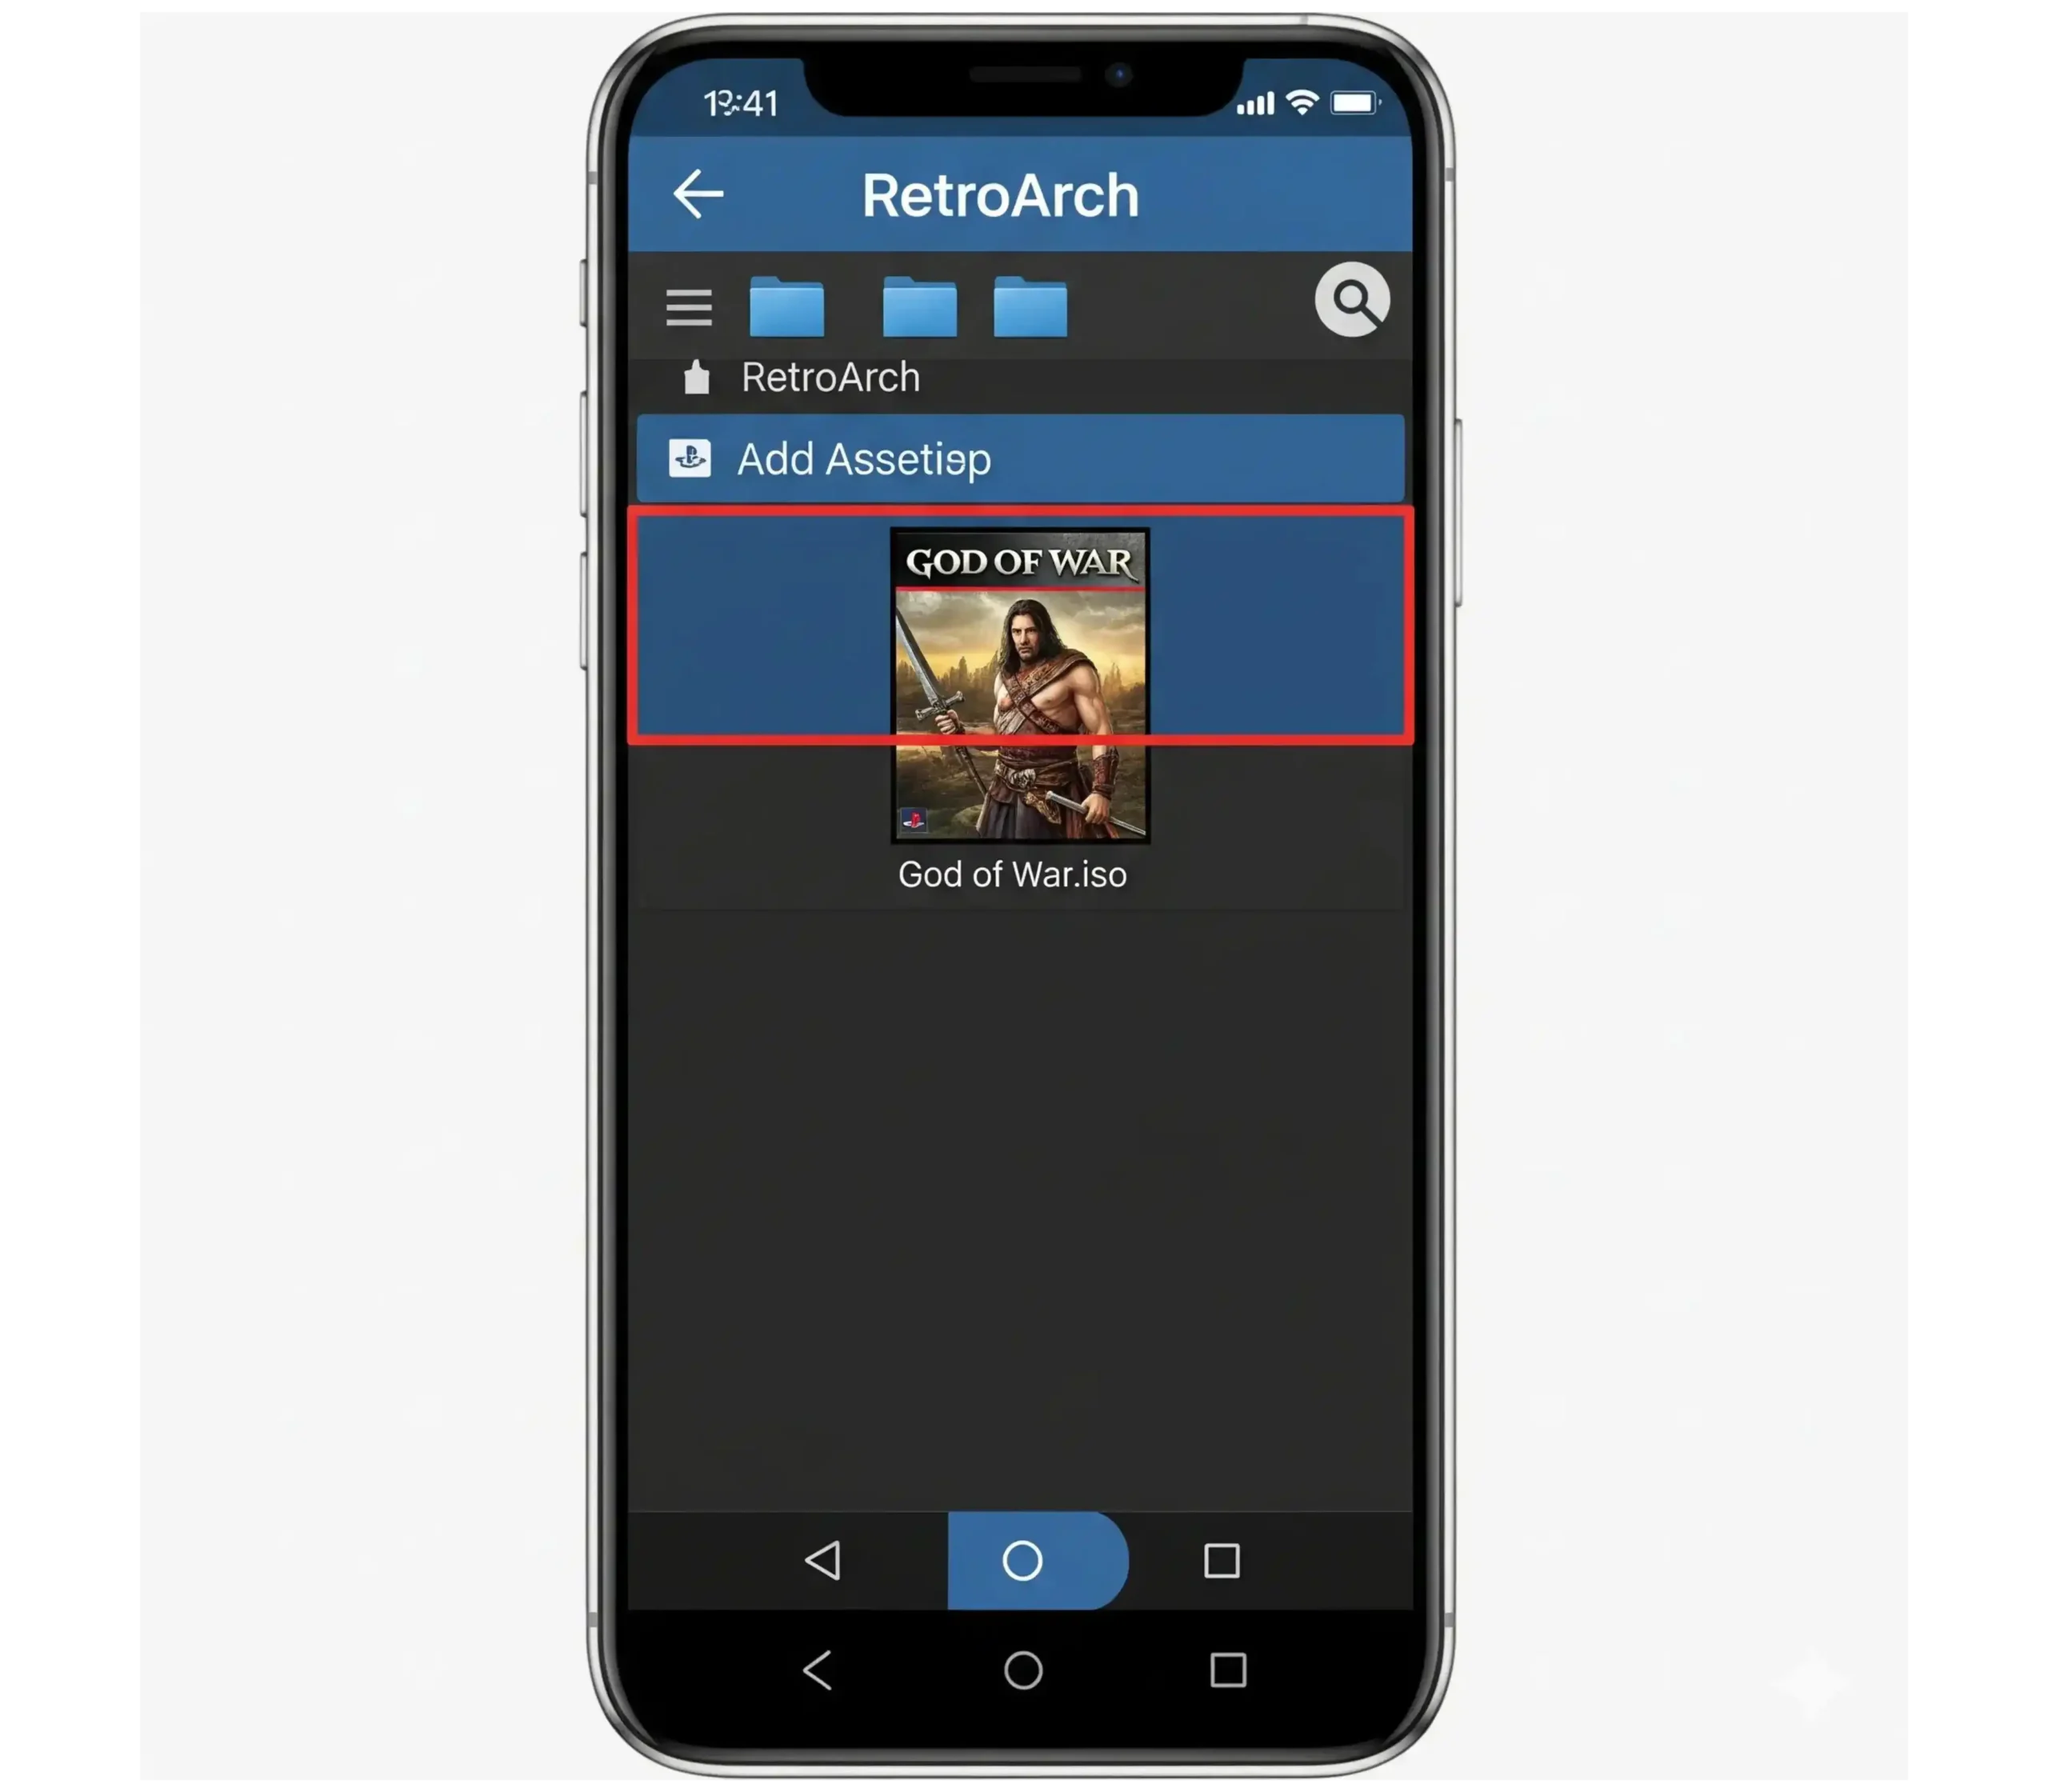
Step 4 – Add Your PS2 Game ISO
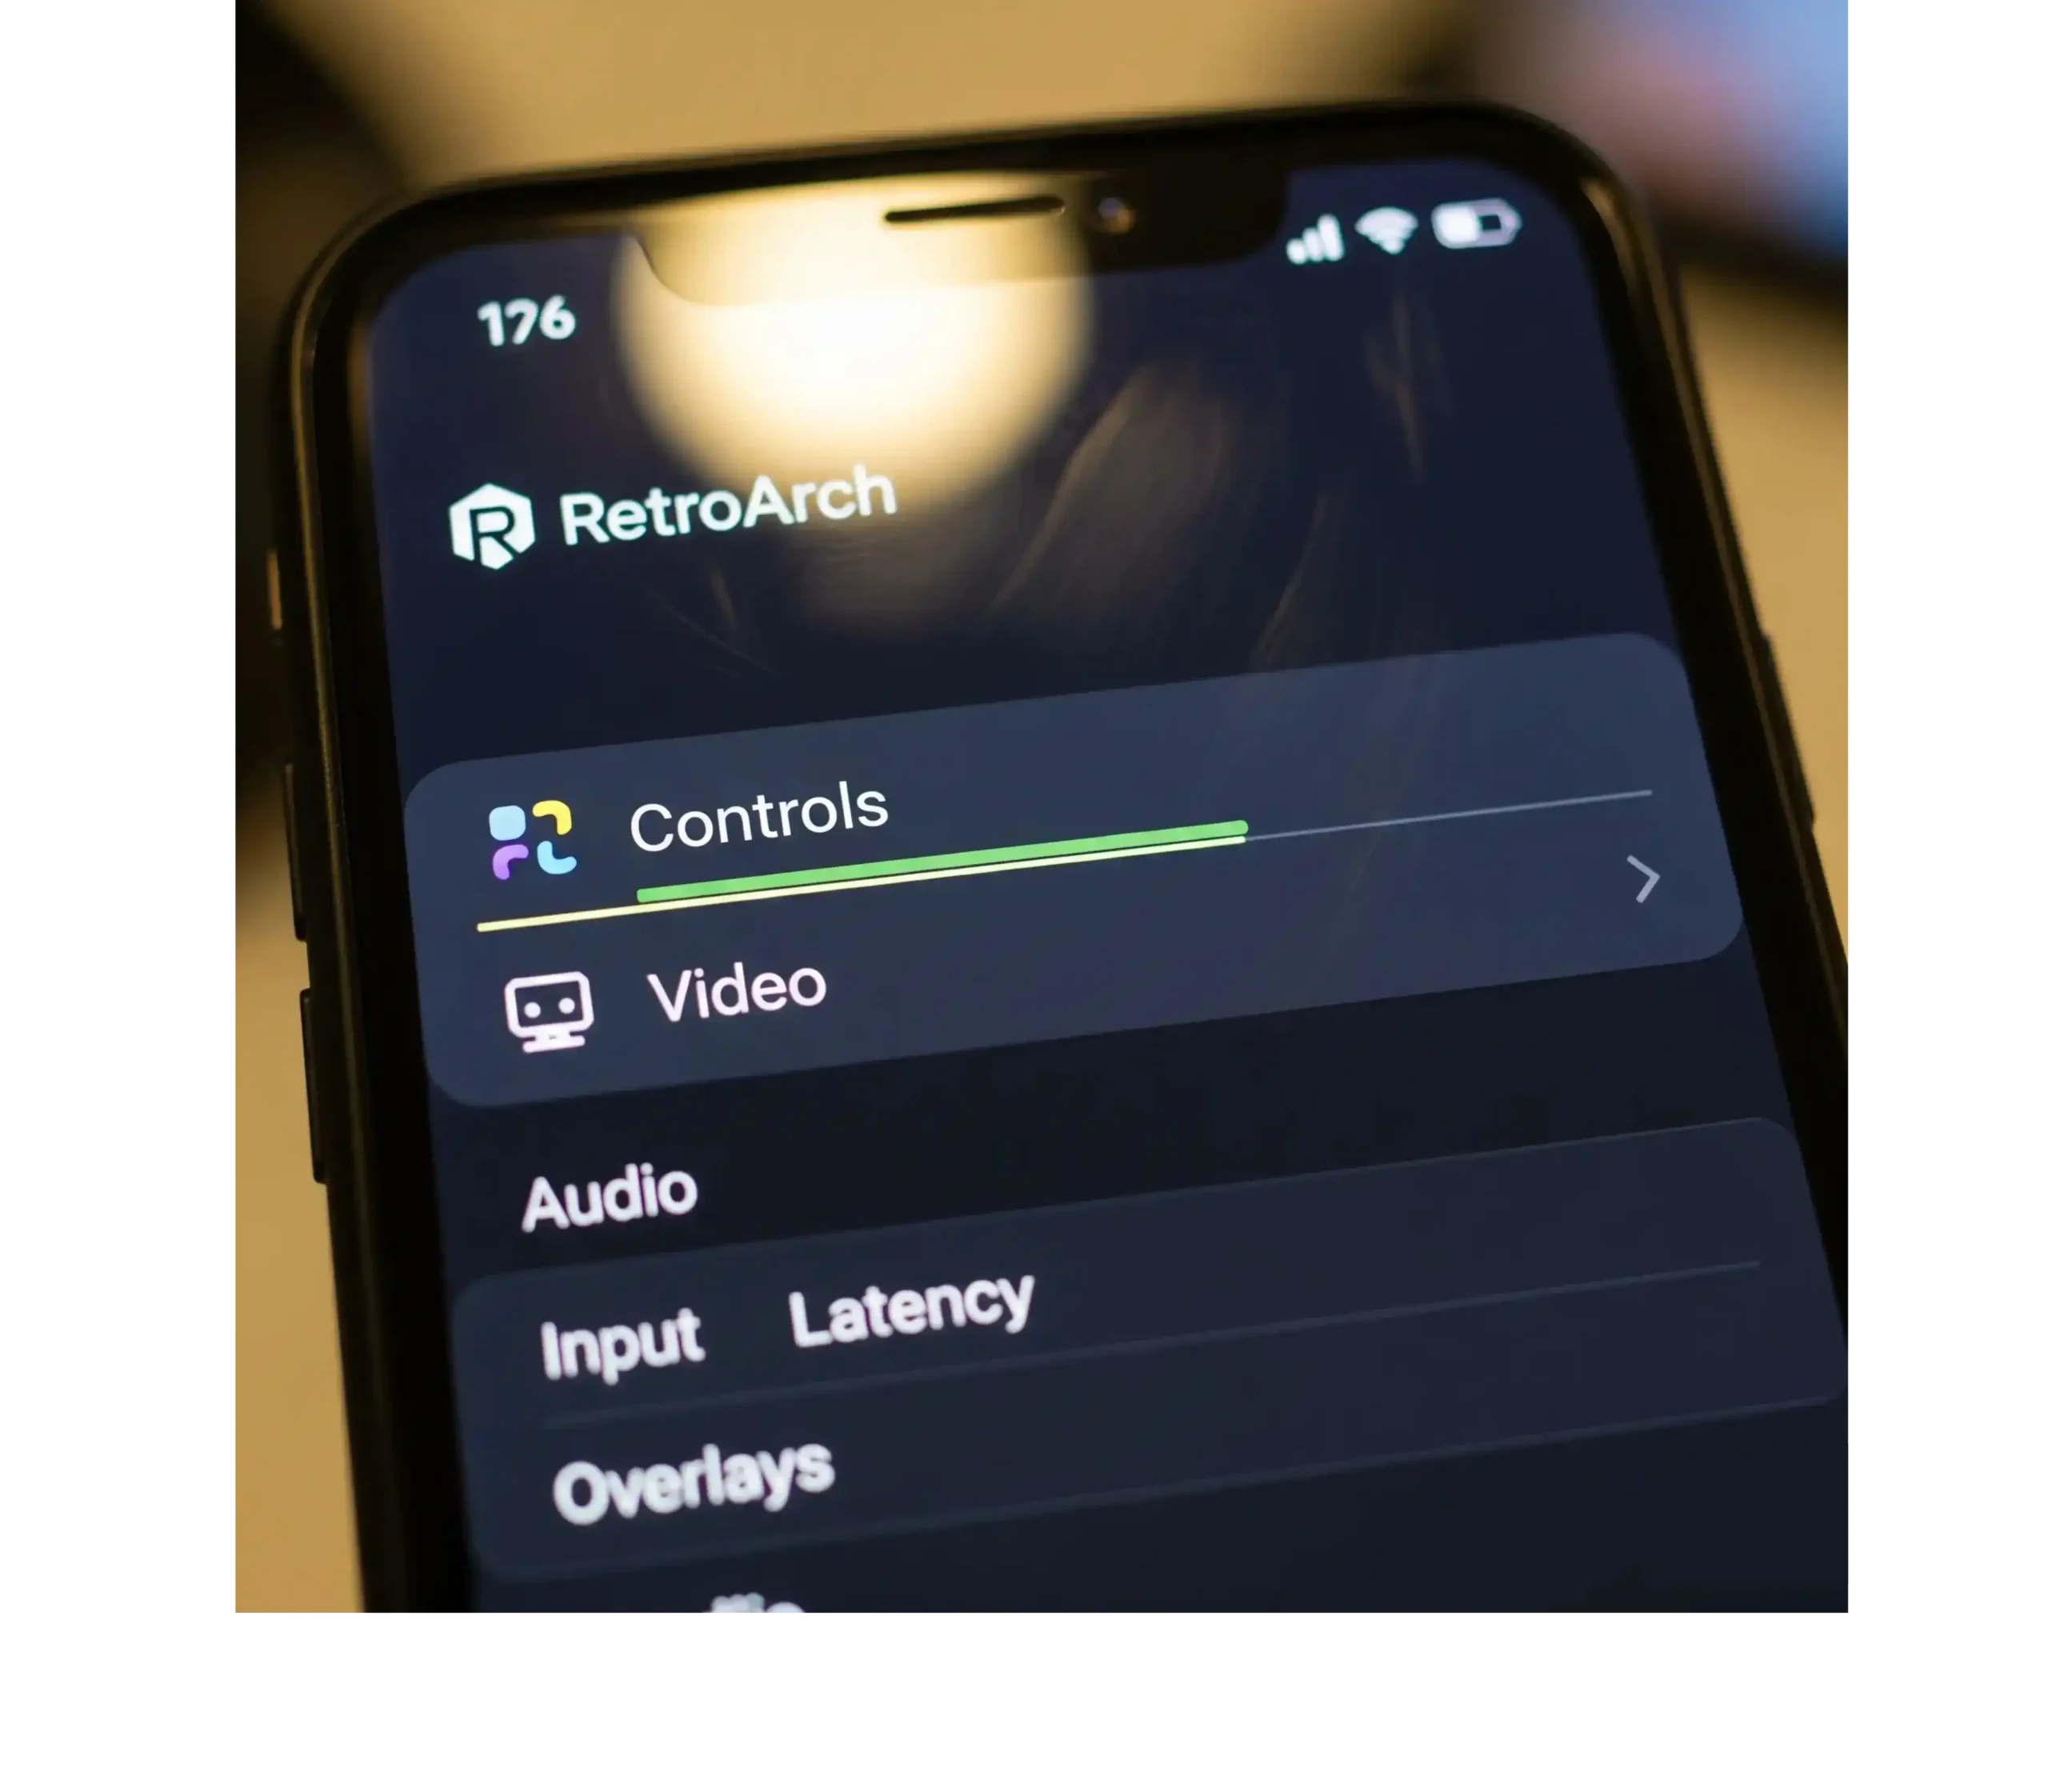
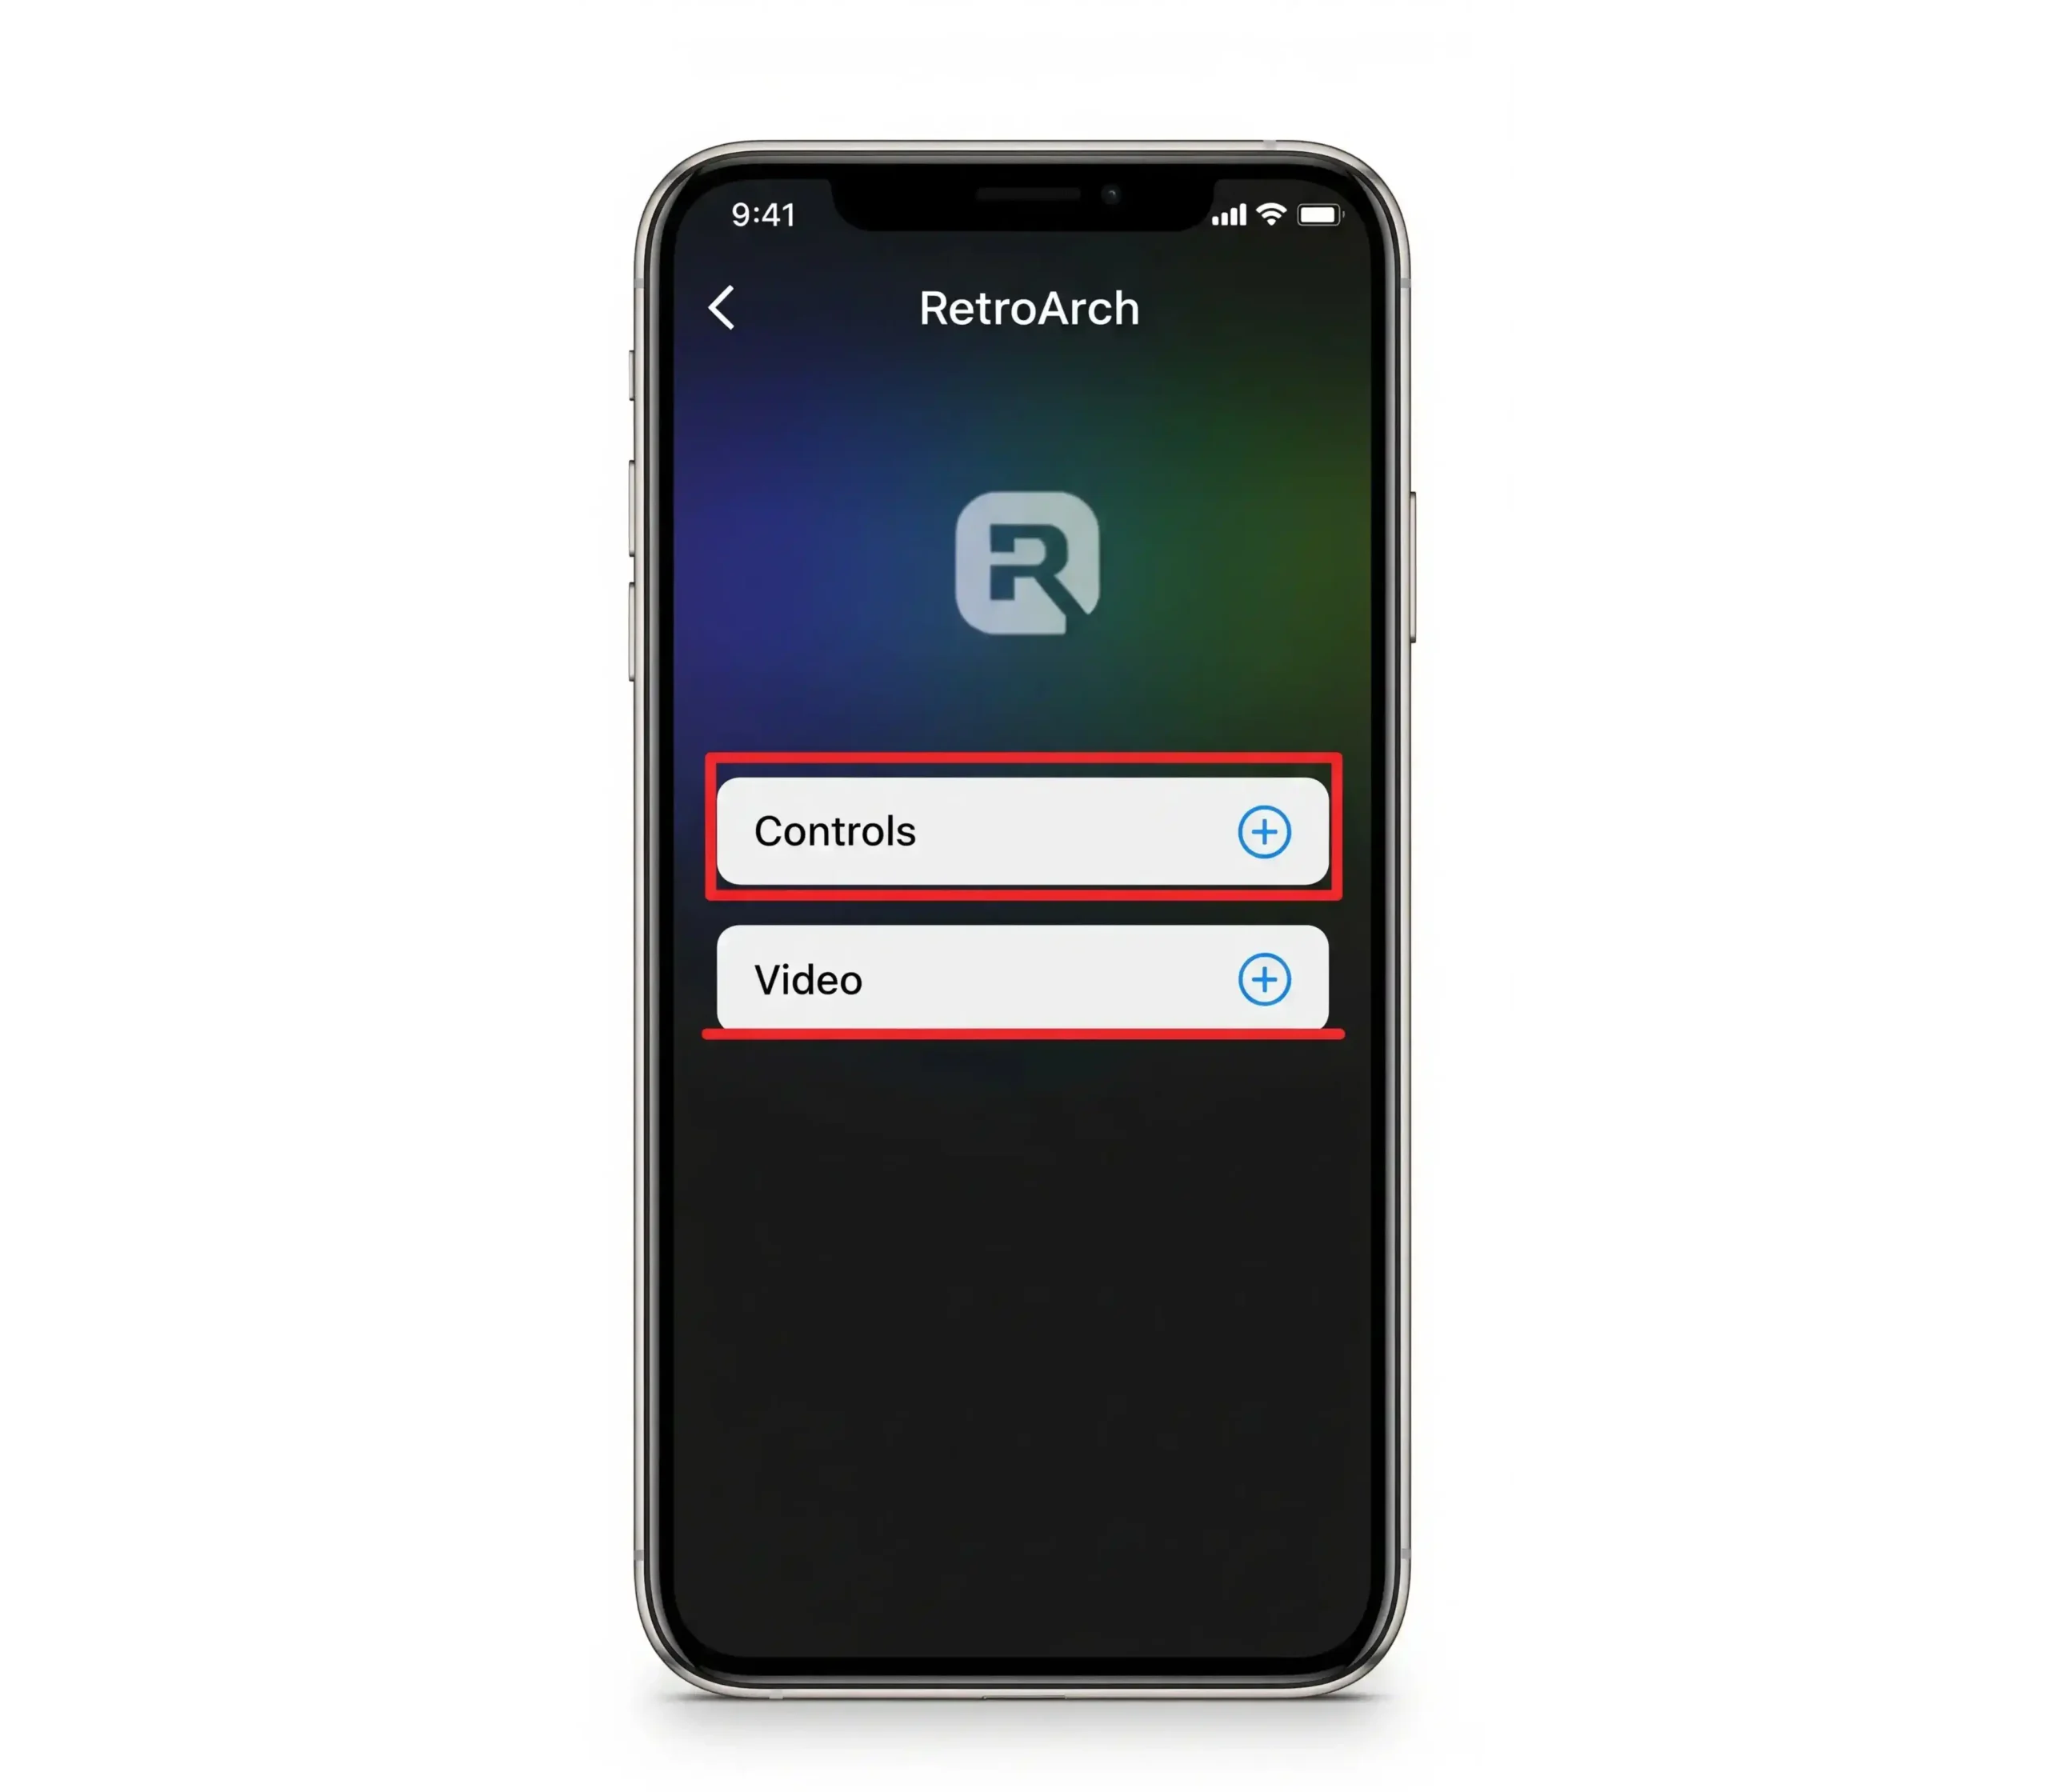
Step 5 – Configure Controls & Graphics (Optional)
How to Add and Configure RetroArch PS2 BIOS (Windows, macOS & Linux)
RetroArch is one of the most powerful emulators, and with the RetroArch PS2 BIOS alongside the PCSX2 BIOS for RetroArch, you can unlock full compatibility. This works across Windows, macOS, and Linux, giving you the best PS2 BIOS for RetroArch performance.
Below is a step-by-step guide to installing and configuring the RetroArch PS2 BIOS across Windows, macOS, and Linux.
Step 1 – Download and Install RetroArch on PC
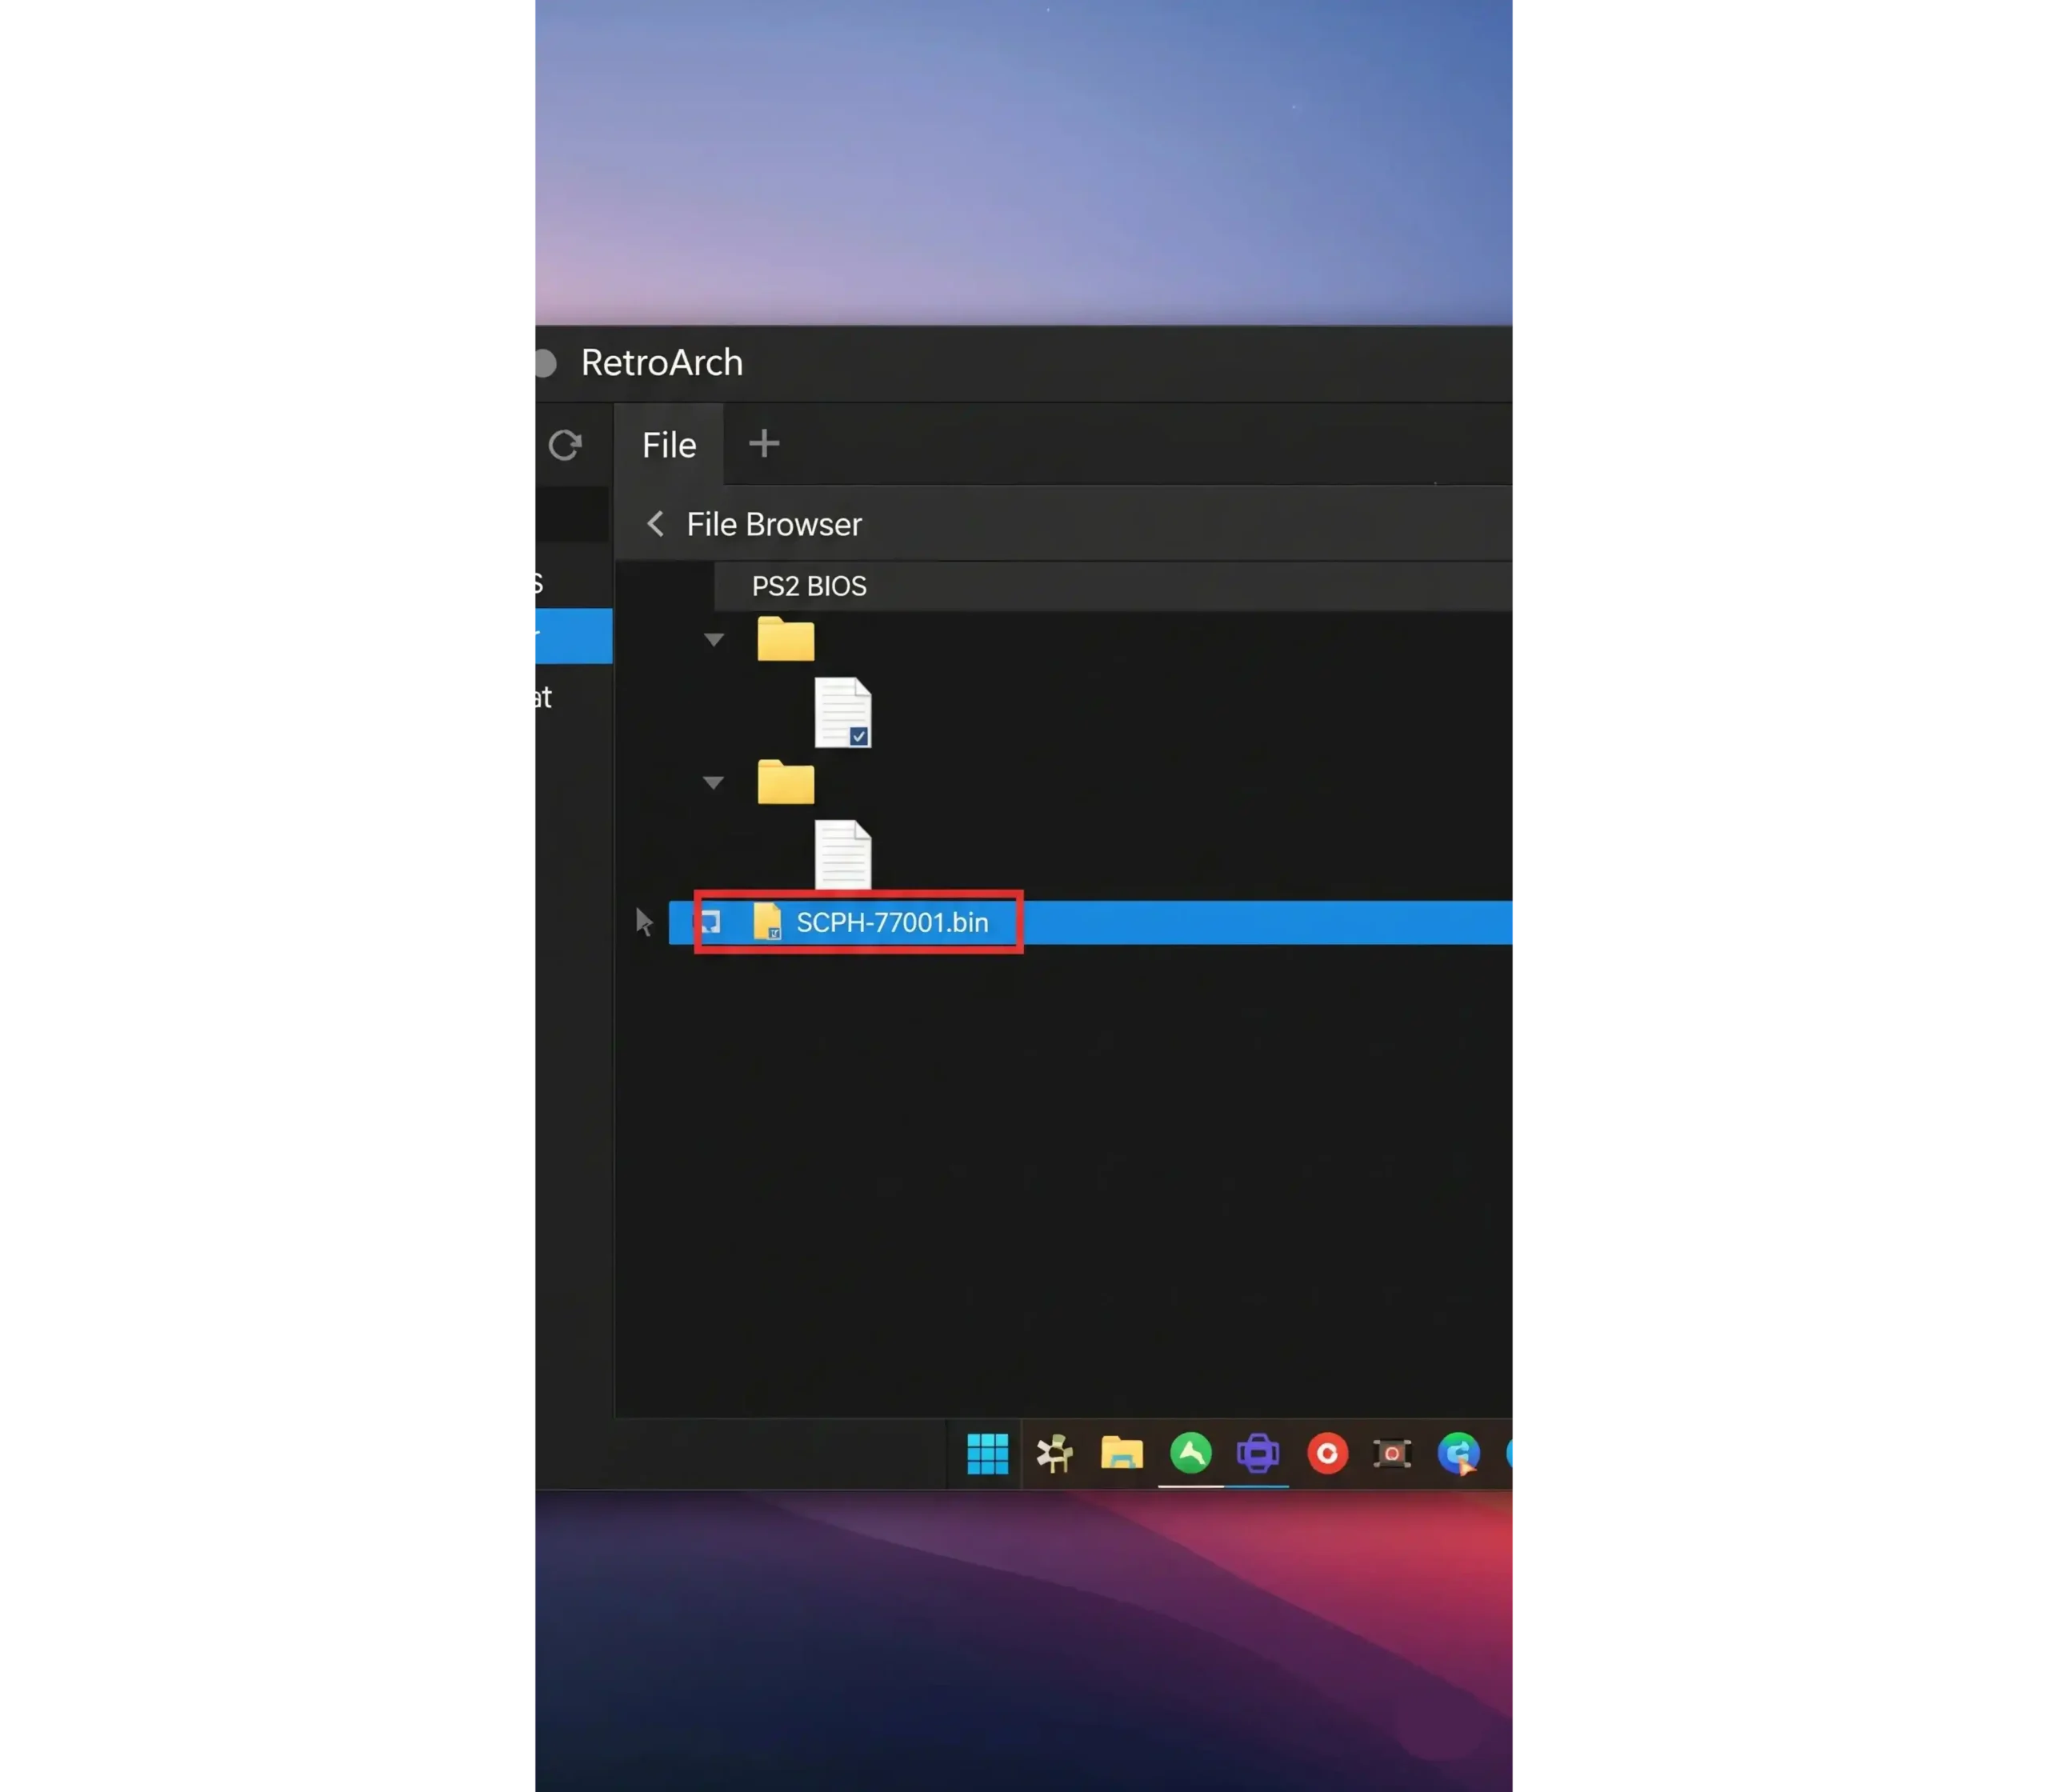
Step 2 – Add the PlayStation 2 BIOS File
Step 3 – Install the PS2 Core (PCSX2) in RetroArch

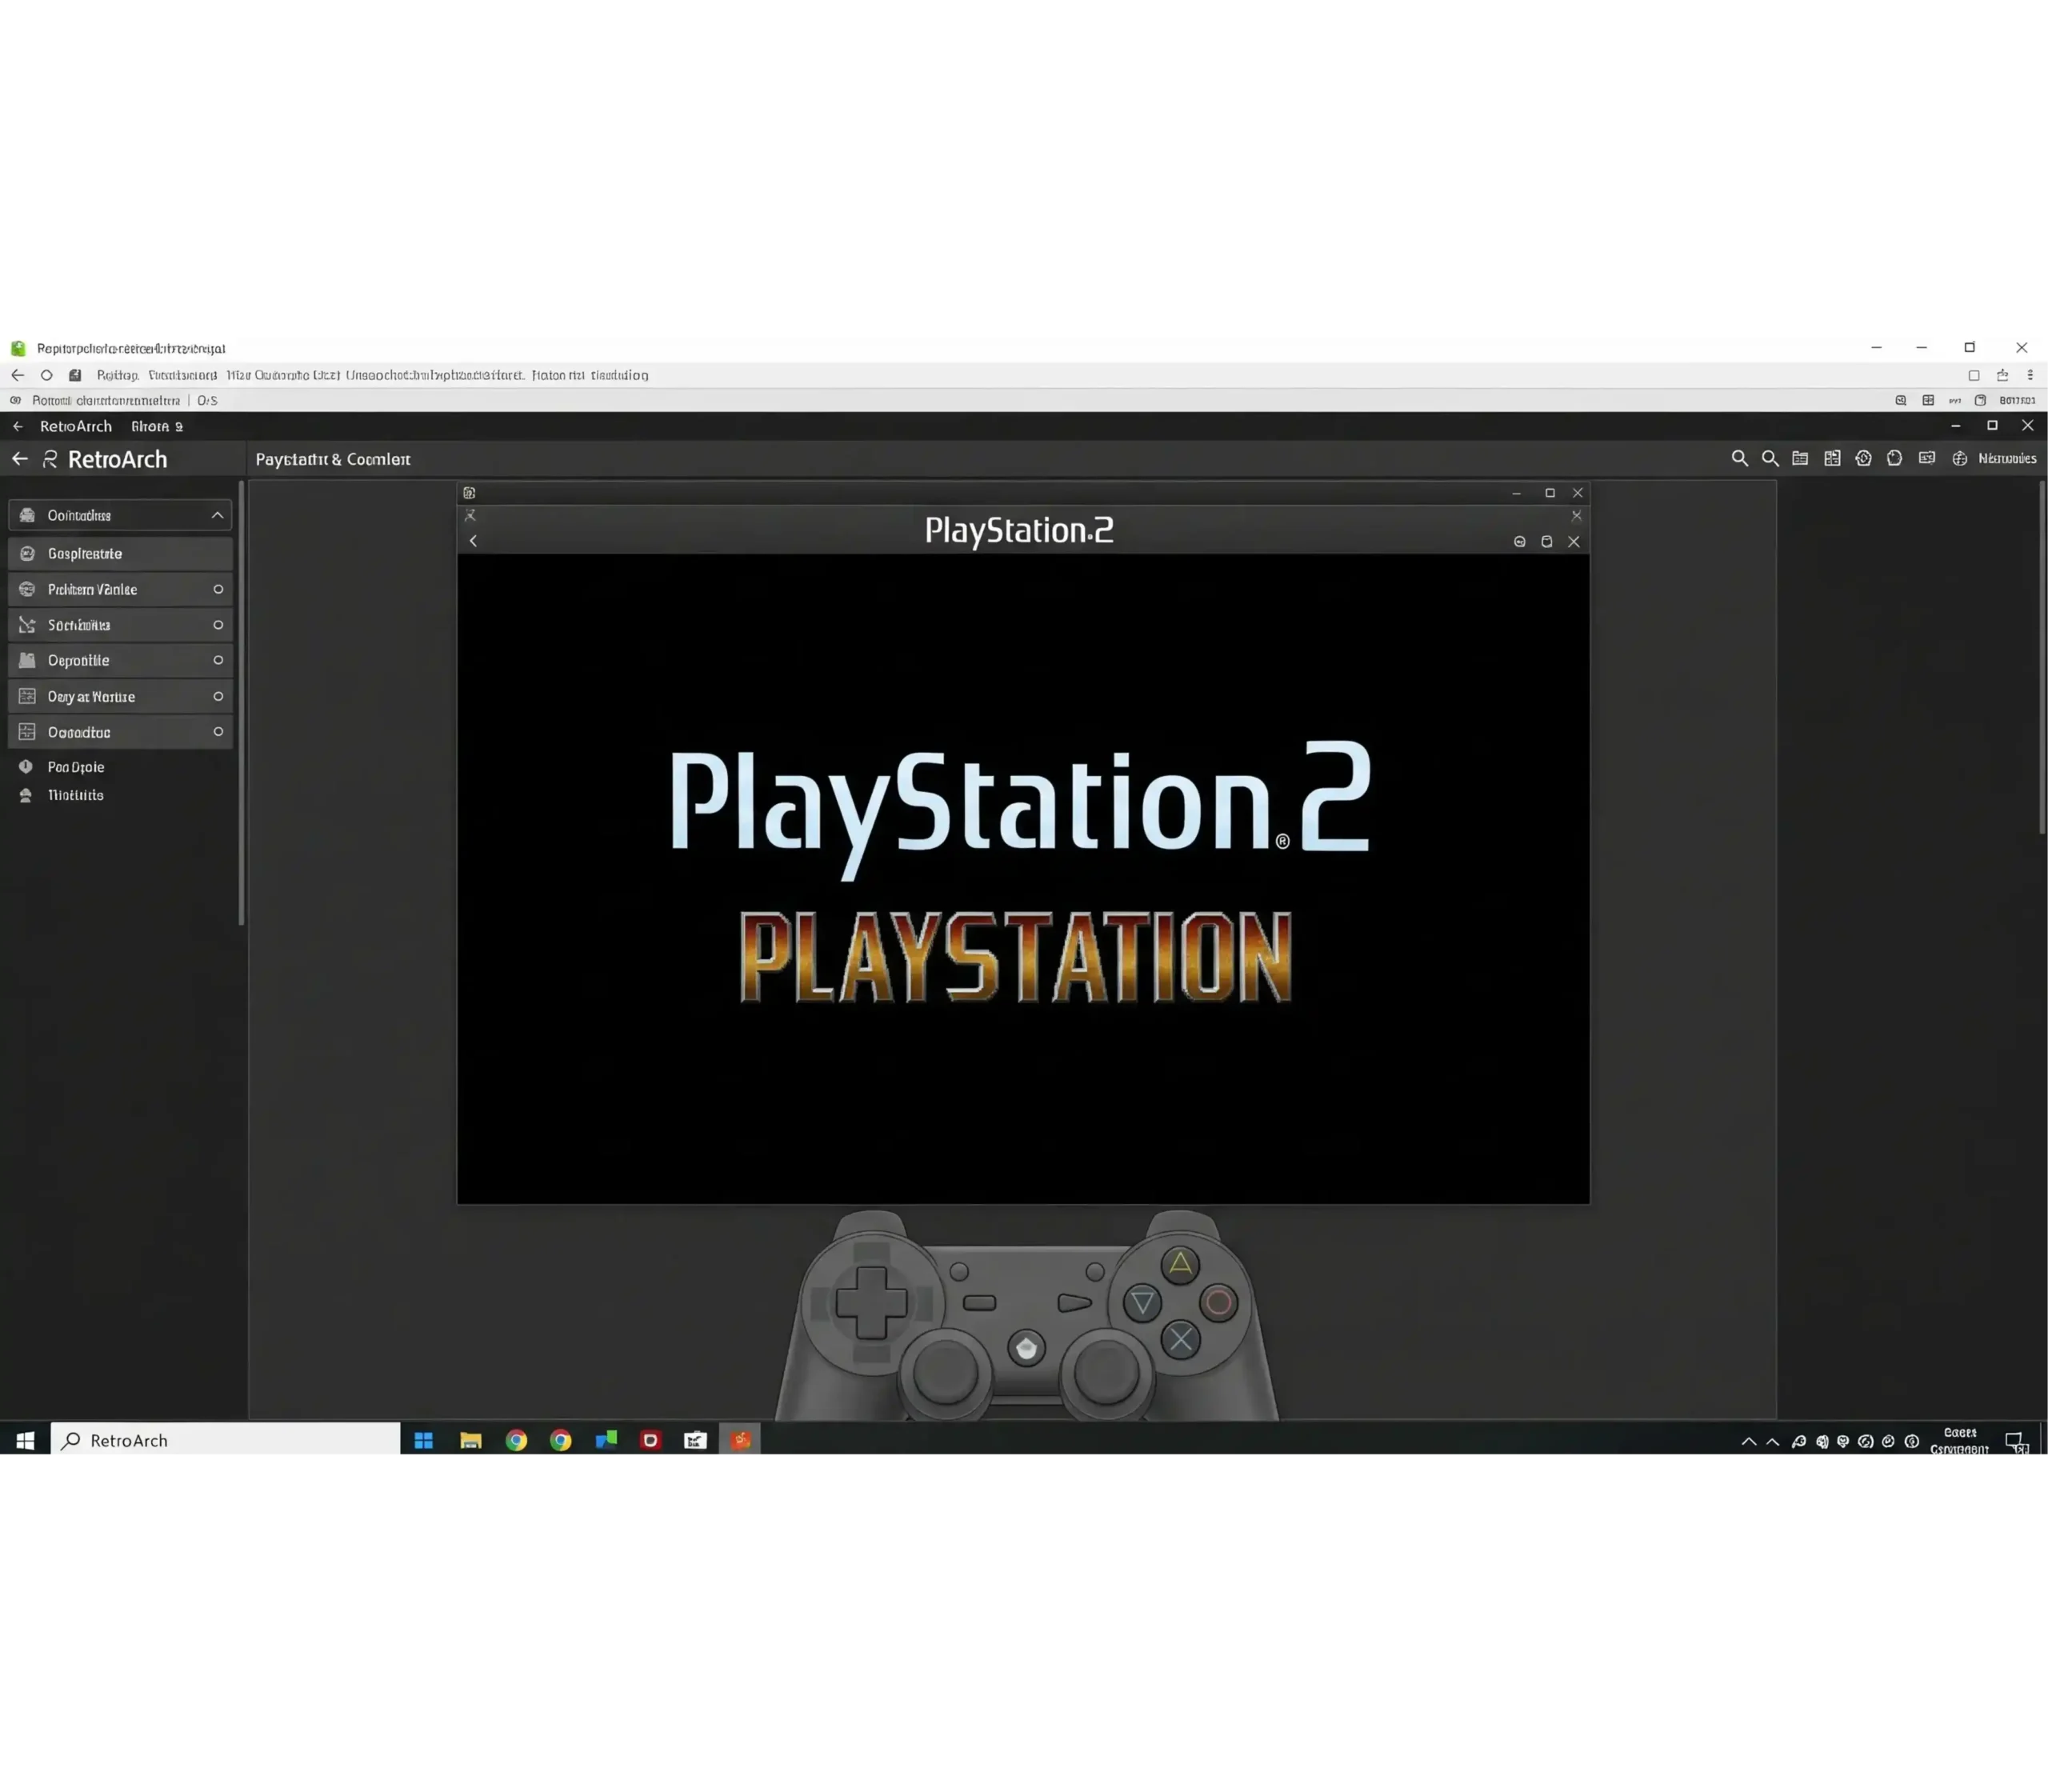
Step 4 – Load and Play PS2 Game ISOs
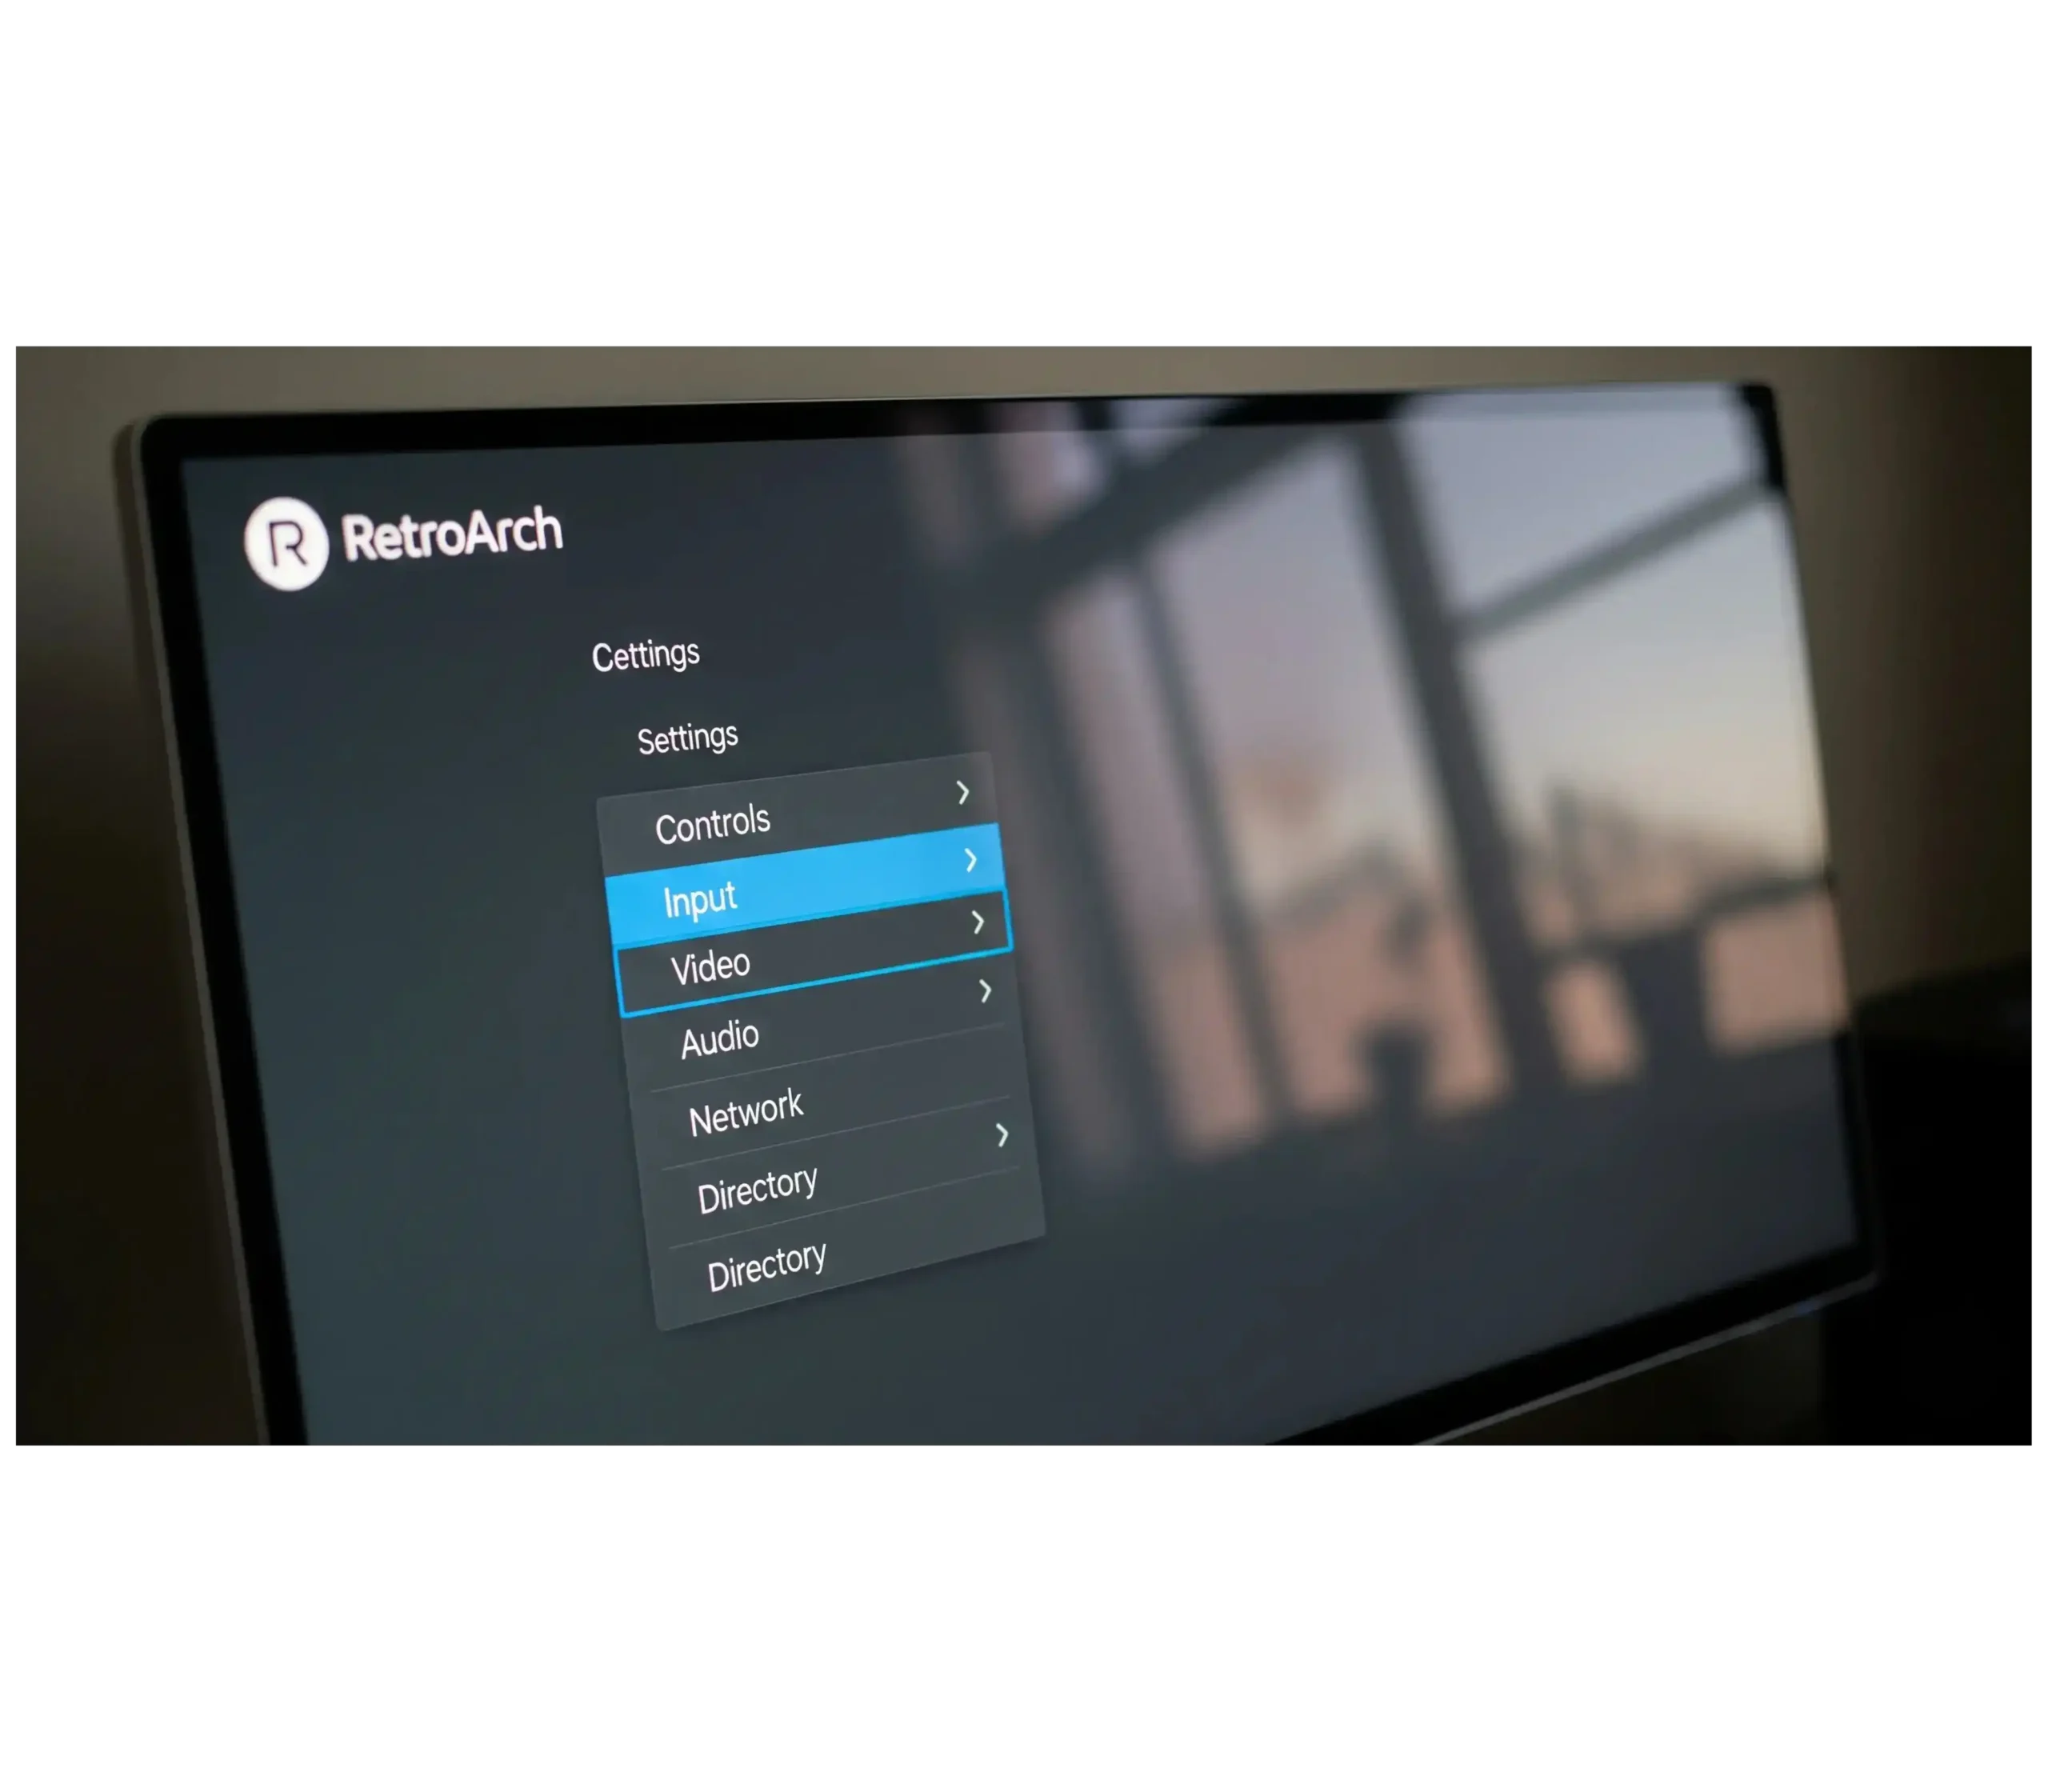
Step 5 – Optimize Graphics and Controls in RetroArch (Optional)
File Placement Summary (Quick Reference Table)
| File / Item | Folder Location | Notes |
|---|---|---|
| pcsx2_libretro.dll | RetroArch/cores | PS2 core executable |
| pcsx2_libretro.info | RetroArch/info | Core descriptor |
| PS2 BIOS .BIN (4096 KB) | RetroArch/system/pcsx2/bios | Use correct region file |
| Game ISO / BIN/CUE | Any folder you choose | Organize by game title |
Configuring Graphics and Performance Settings in RetroArch
Once you’ve added the RetroArch PS2 BIOS, the next step is optimizing settings. This guide also includes recommended RetroArch PS2 performance settings to fix lag and stutter. If your PS2 BIOS not loading in RetroArch, double-check the folder path and file size.
Recommended Settings:
Video Driver:
Internal Resolution:
Frameskip:
Threaded Rendering:
Troubleshooting Common Issues
Even after setting everything up, you might face some common RetroArch PS2 problems. Here’s a quick reference table with causes and fixes:
| Problem | Cause | Fix |
|---|---|---|
| Black screen but audio plays | Wrong video driver | Switch to OpenGL or Vulkan in settings |
| Switch to OpenGL or Vulkan in settings | BIOS in wrong folder | Double-check path: system/pcsx2/bios |
| Games crash back to menu | Bad ISO rip | Re-dump or verify your game ISO file |
| Laggy audio/video | Device too weak or incorrect settings | Lower resolution, enable Threaded Rendering |
RetroArch vs Standalone PCSX2 – Which Should You Use?
💡 Recommendation:
Legal Talk – Dumping Your Own PS2 BIOS
For legal reasons, you should dump the BIOS from your own PlayStation 2 console.
✅ Tools like BIOS Dumper or a modded PS2 can create a legal .BIN file.
⚠️ Downloading pre-made BIOS files from the internet falls into a legal gray area depending on your country’s copyright laws.
FAQs
Conclusion
And that’s it—you now know how to add the RetroArch PS2 BIOS and enjoy your favorite games. With the best PS2 BIOS for RetroArch, you’ll avoid errors, boost performance, and fix black screen issues. Whether on Android, iOS, or PC, this how to play PS2 games on RetroArch guide ensures smooth gaming anytime.
RetroArch can look a little intimidating at first, but after setting up the RetroArch PS2 BIOS, you’ll realize it’s not nearly as complicated as it seems. A couple of files in the right place, a few settings tweaked, and you’ve basically got a portable PS2 in your pocket.