PS2 BIOS Dump Guide Using PCSX2 & AetherSX2

ps2 bios android

PS2 Dumping BIOS is the process of copying the BIOS software directly from your own PlayStation 2 console. The BIOS works as the core system software that allows your PS2 to start up and run games properly Learn more about [PS2 BIOS] for detailed info.. Performing PS2 Dumping BIOS is necessary if you want to use popular emulators like PCSX2 or AetherSX2 to enjoy your favorite titles on a PC or Android device.

Importantly, PS2 Dumping BIOS from your own console is completely legal since you already own the original hardware. Just like with PS1 BIOS and PS3 BIOS, the rule is simple — you must dump the system files from your own console. Downloading random BIOS files from the internet is illegal and often risky, as they may contain viruses or corrupted data. By dumping the BIOS yourself, you not only stay safe but also ensure an authentic and smooth gaming experience on your emulator.

PS2 dumping bios

🧠 What Is PS2 BIOS Dumping?

If you want to play PlayStation 2 games on your computer using an emulator like PCSX2 or AetherSX2, you’ll need to go through the process of PS2 Dumping BIOS. Think of the BIOS as your console’s brain — it tells the emulator exactly how a real PS2 behaves. Performing PS2 Dumping BIOS simply means copying the system files from your actual PlayStation 2 console and saving them as a BIOS file (often in ELF format) on your computer.

It might sound technical, but don’t worry — PS2 Dumping BIOS is not as difficult as it seems. In fact, this process is completely legal as long as you own the PS2 console you are dumping from, and it ensures your emulator runs smoothly and authentically.

Why You Need to Dump the PS2 BIOS

  •  The PCSX2 emulator doesn’t come with the BIOS file because Sony owns the rights to it. Without dumping your BIOS, PCSX2 BIOS won’t function, since the emulator needs the real console’s system files..
  • If you want to use PCSX2 to play your PS2 games, you have to get the BIOS file from your own PlayStation 2 console. This process is called dumping the BIOS.
  • Without completing PS2 Dumping BIOS, the emulator won’t be able to start or run any PS2 games. The BIOS works like the brain of the console, helping PCSX2 and other emulators understand how to load and run games correctly. This makes PS2 Dumping BIOS one of the most important steps in setting up your emulator.
  • So, performing PS2 Dumping BIOS from your own PlayStation 2 console is the only legal and safe way to obtain the required system file. This method ensures your games will run smoothly on emulators like PCSX2 or AetherSX2, while keeping you free from legal risks and unsafe downloads.

What You’ll Need to Get Started

Must-Have Hardware

  • PS2 Console: Either Fat or Slim model will work.
  • USB Flash Drive: Between 4 to 16GB, USB 2.0 preferred, formatted as FAT32 with MBR partition.
  • Memory Card or Blank DVD-R:
    Memory Card if you plan to use Free Mc Boot.
    Blank DVD-R if you plan to use Free DVD Boot.

Must-Have Software

  • Free Mc Boot: A homebrew launcher installed on the memory card.
  • Free DVD Boot: A bootable disc you burn yourself if you don’t have a memory card.
  • ULaunch ELF: A simple file manager and loader for your PS2.
  • Bios drain .elf: The program that actually dumps the BIOS from your console.

Bonus Tools

  • Windows Format Tool or Rufus: Use these to make sure your USB drive is properly formatted with FAT32 and MBR settings.
  • .Pro Tip: Older USB sticks usually work better with the PS2. Avoid USB 3.0 drives as the PS2 can be picky about compatibility.

🛠️Dumping Methods: Choose Your Way

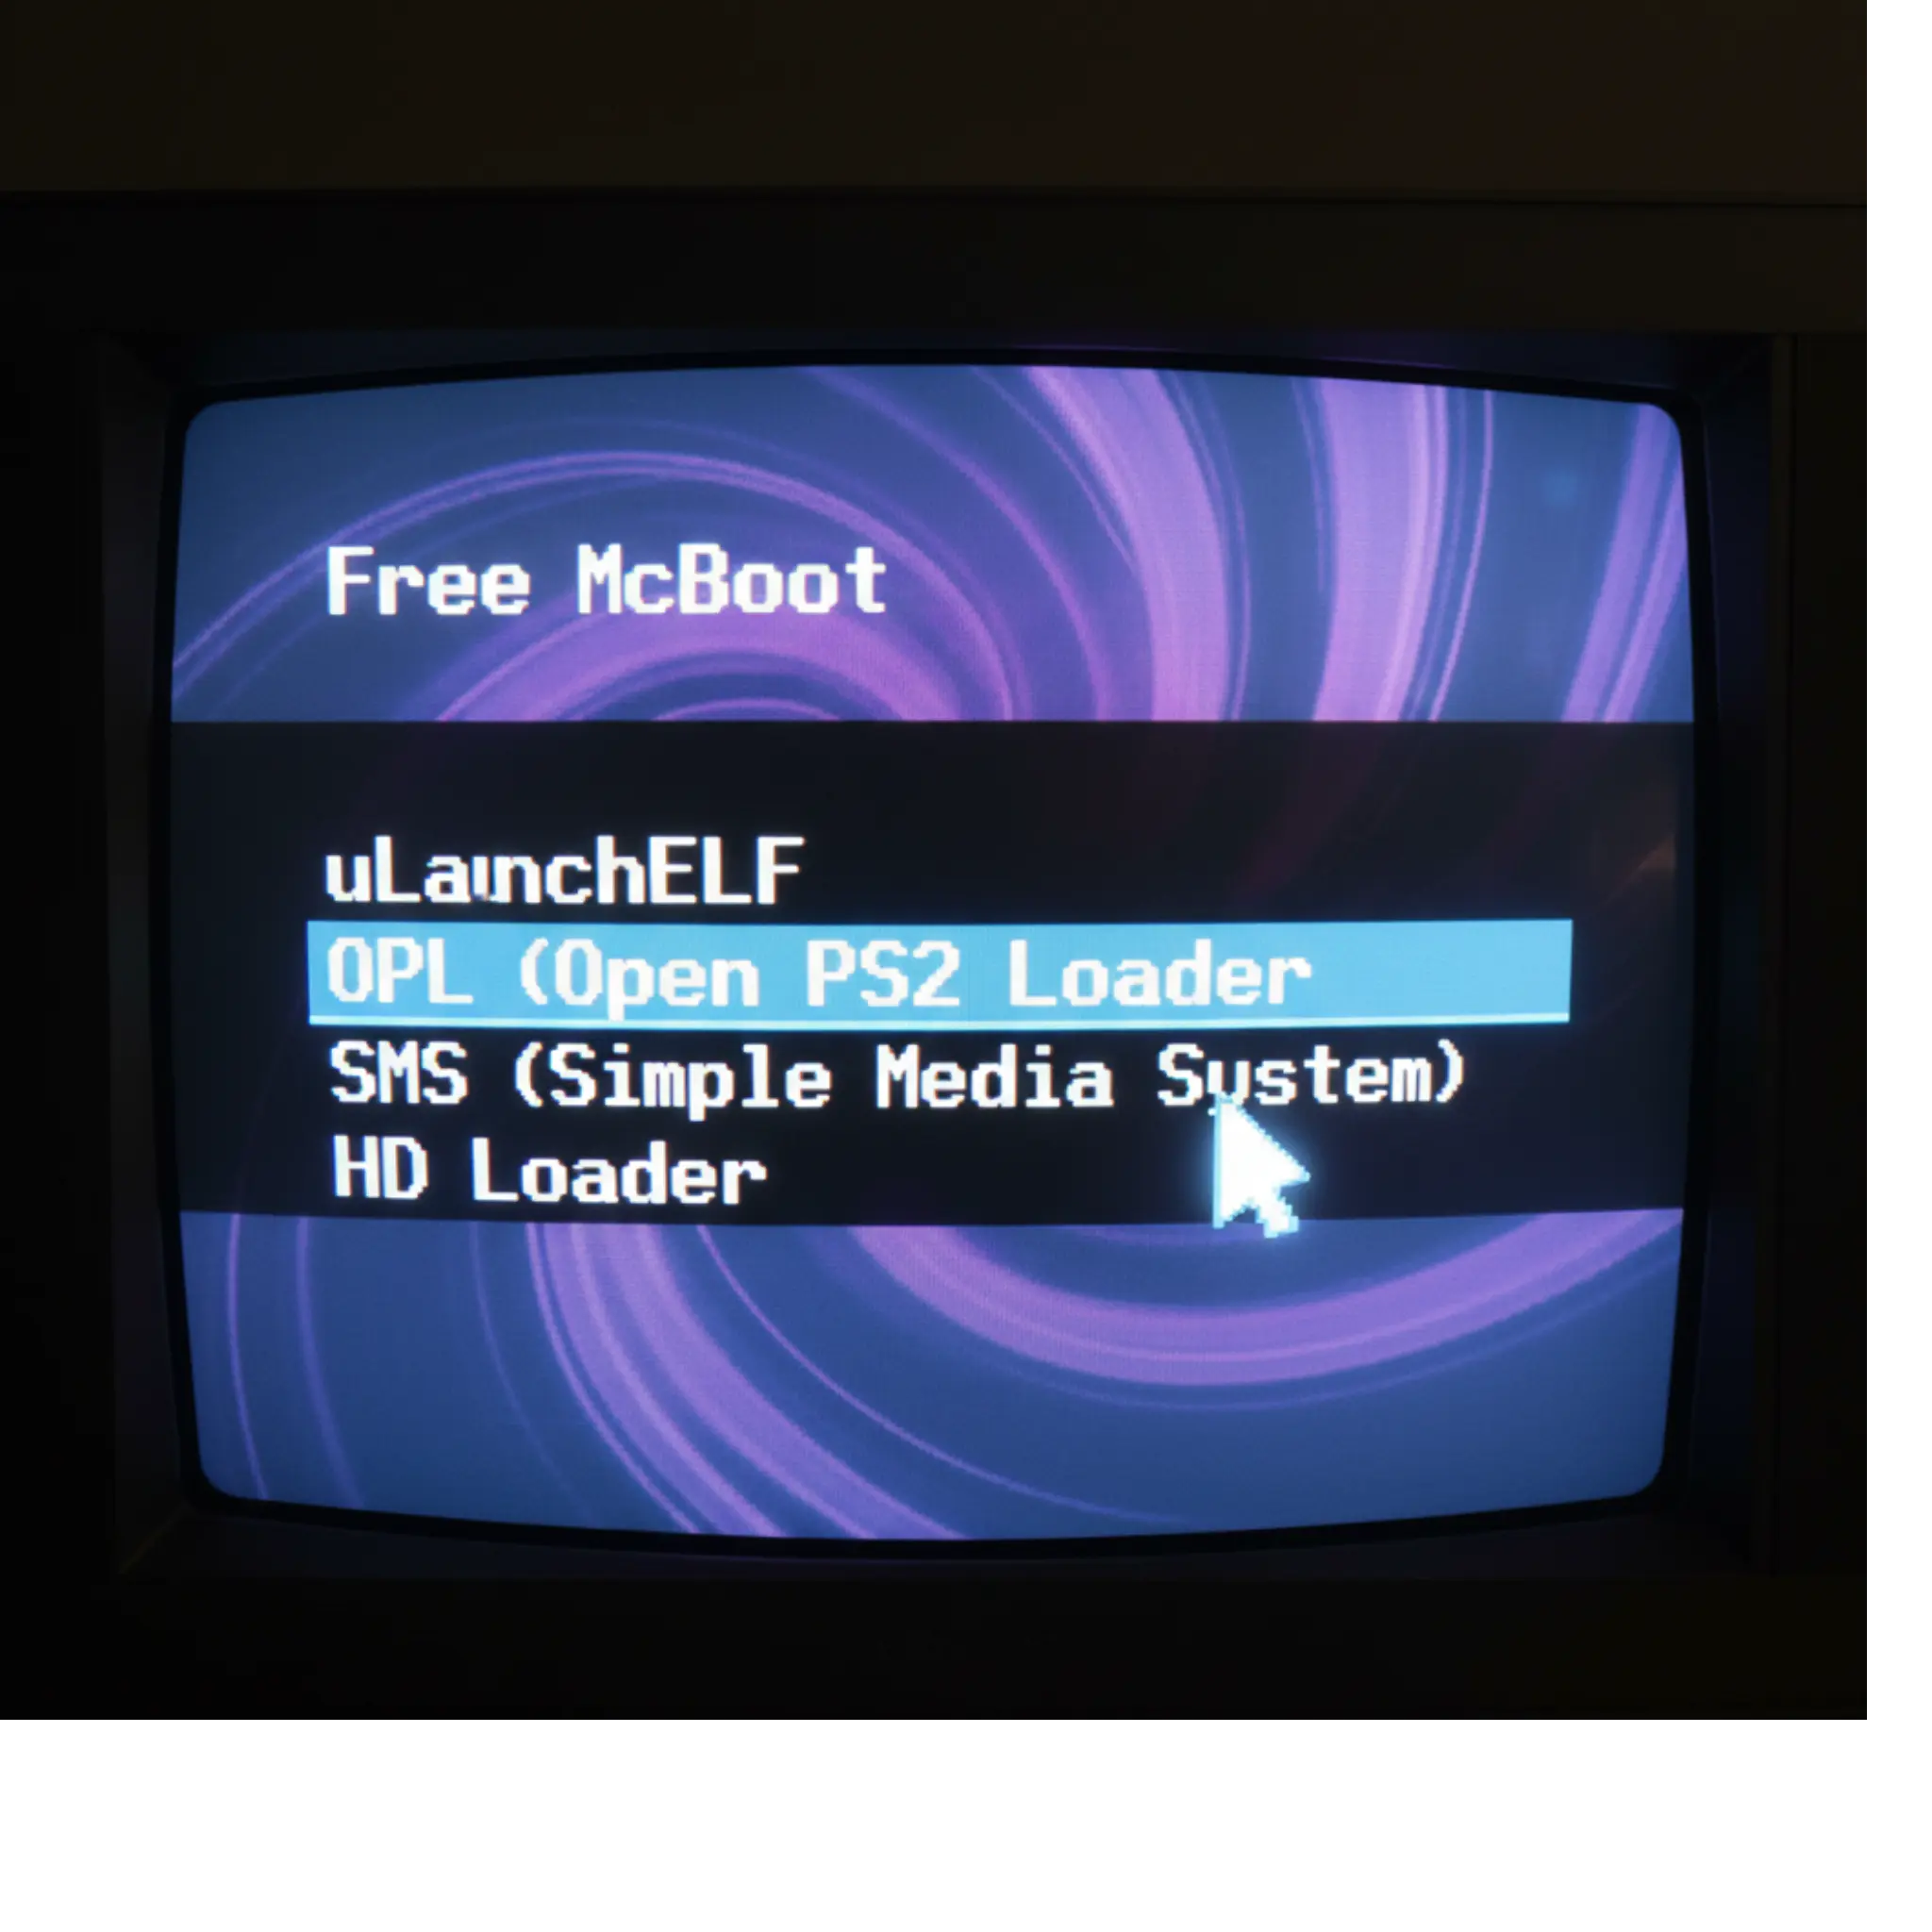
Free Mc Boot: Easy Memory Card Method

  • Great for beginners
  • Works with most PS2 Fat and Slim consoles (except some newer Slim models like the 9x series).
  • You can buy a memory card with Free Mc Boot already installed or set it up yourself if you have the tools.

Free DVD Boot: No Memory Card Needed

  • Burn the Free DVD Boot ISO file onto a blank DVD-R disc.
  • Insert the disc into your PS2 to start launch ELF and run homebrew apps.
  • Perfect if you don’t have a Free Mc Boot memory card.
  • Note: Not every PS2 supports this method, and you need good quality discs and a proper burn for it to work.

Free DVD Boot: No Memory Card Needed

  • Run the biosdrain.elf program from uLaunchELF.
  • It copies the BIOS files (like rom0, nvm, etc.) straight to your USB drive’s main folder.

Free DVD Boot: No Memory Card Needed

  • These involve hardware modifications like soldering or tricky disc swapping.
  • Risky and complicated, so only try if you’re experienced. Otherwise, stick to FreeMcBoot or FreeDVDBoot.

🎮 Setting Up Before You Start

Format Your USB Drive Correctly

  • BPlug in your USB drive and right-click it, then select Format.
  • Choose FAT32 as the file system.
  • Make sure the partition scheme is set to MBR (Master Boot Record).
  • Keep the USB volume name simple—avoid using special characters or spaces.

Add BIOS Dumping Tools to USB

  • Copy the files biosdrain.elf and uLaunchELF.elf directly into the root folder of your USB drive (not inside any folder). These tools are essential for performing PS2 Dumping BIOS successfully, ensuring the BIOS files are saved correctly for use in emulators like PCSX2 or AetherSX2.


Prepare Your Boot Method

  • If you’re using FreeMcBoot, insert the FreeMcBoot-enabled memory card into your PS2 before turning it on.
  • If you’re using FreeDVDBoot, burn the FreeDVDBoot ISO file onto a blank DVD-R and have it ready to boot on your PS2.

BIOS Dumping Step-by-Step

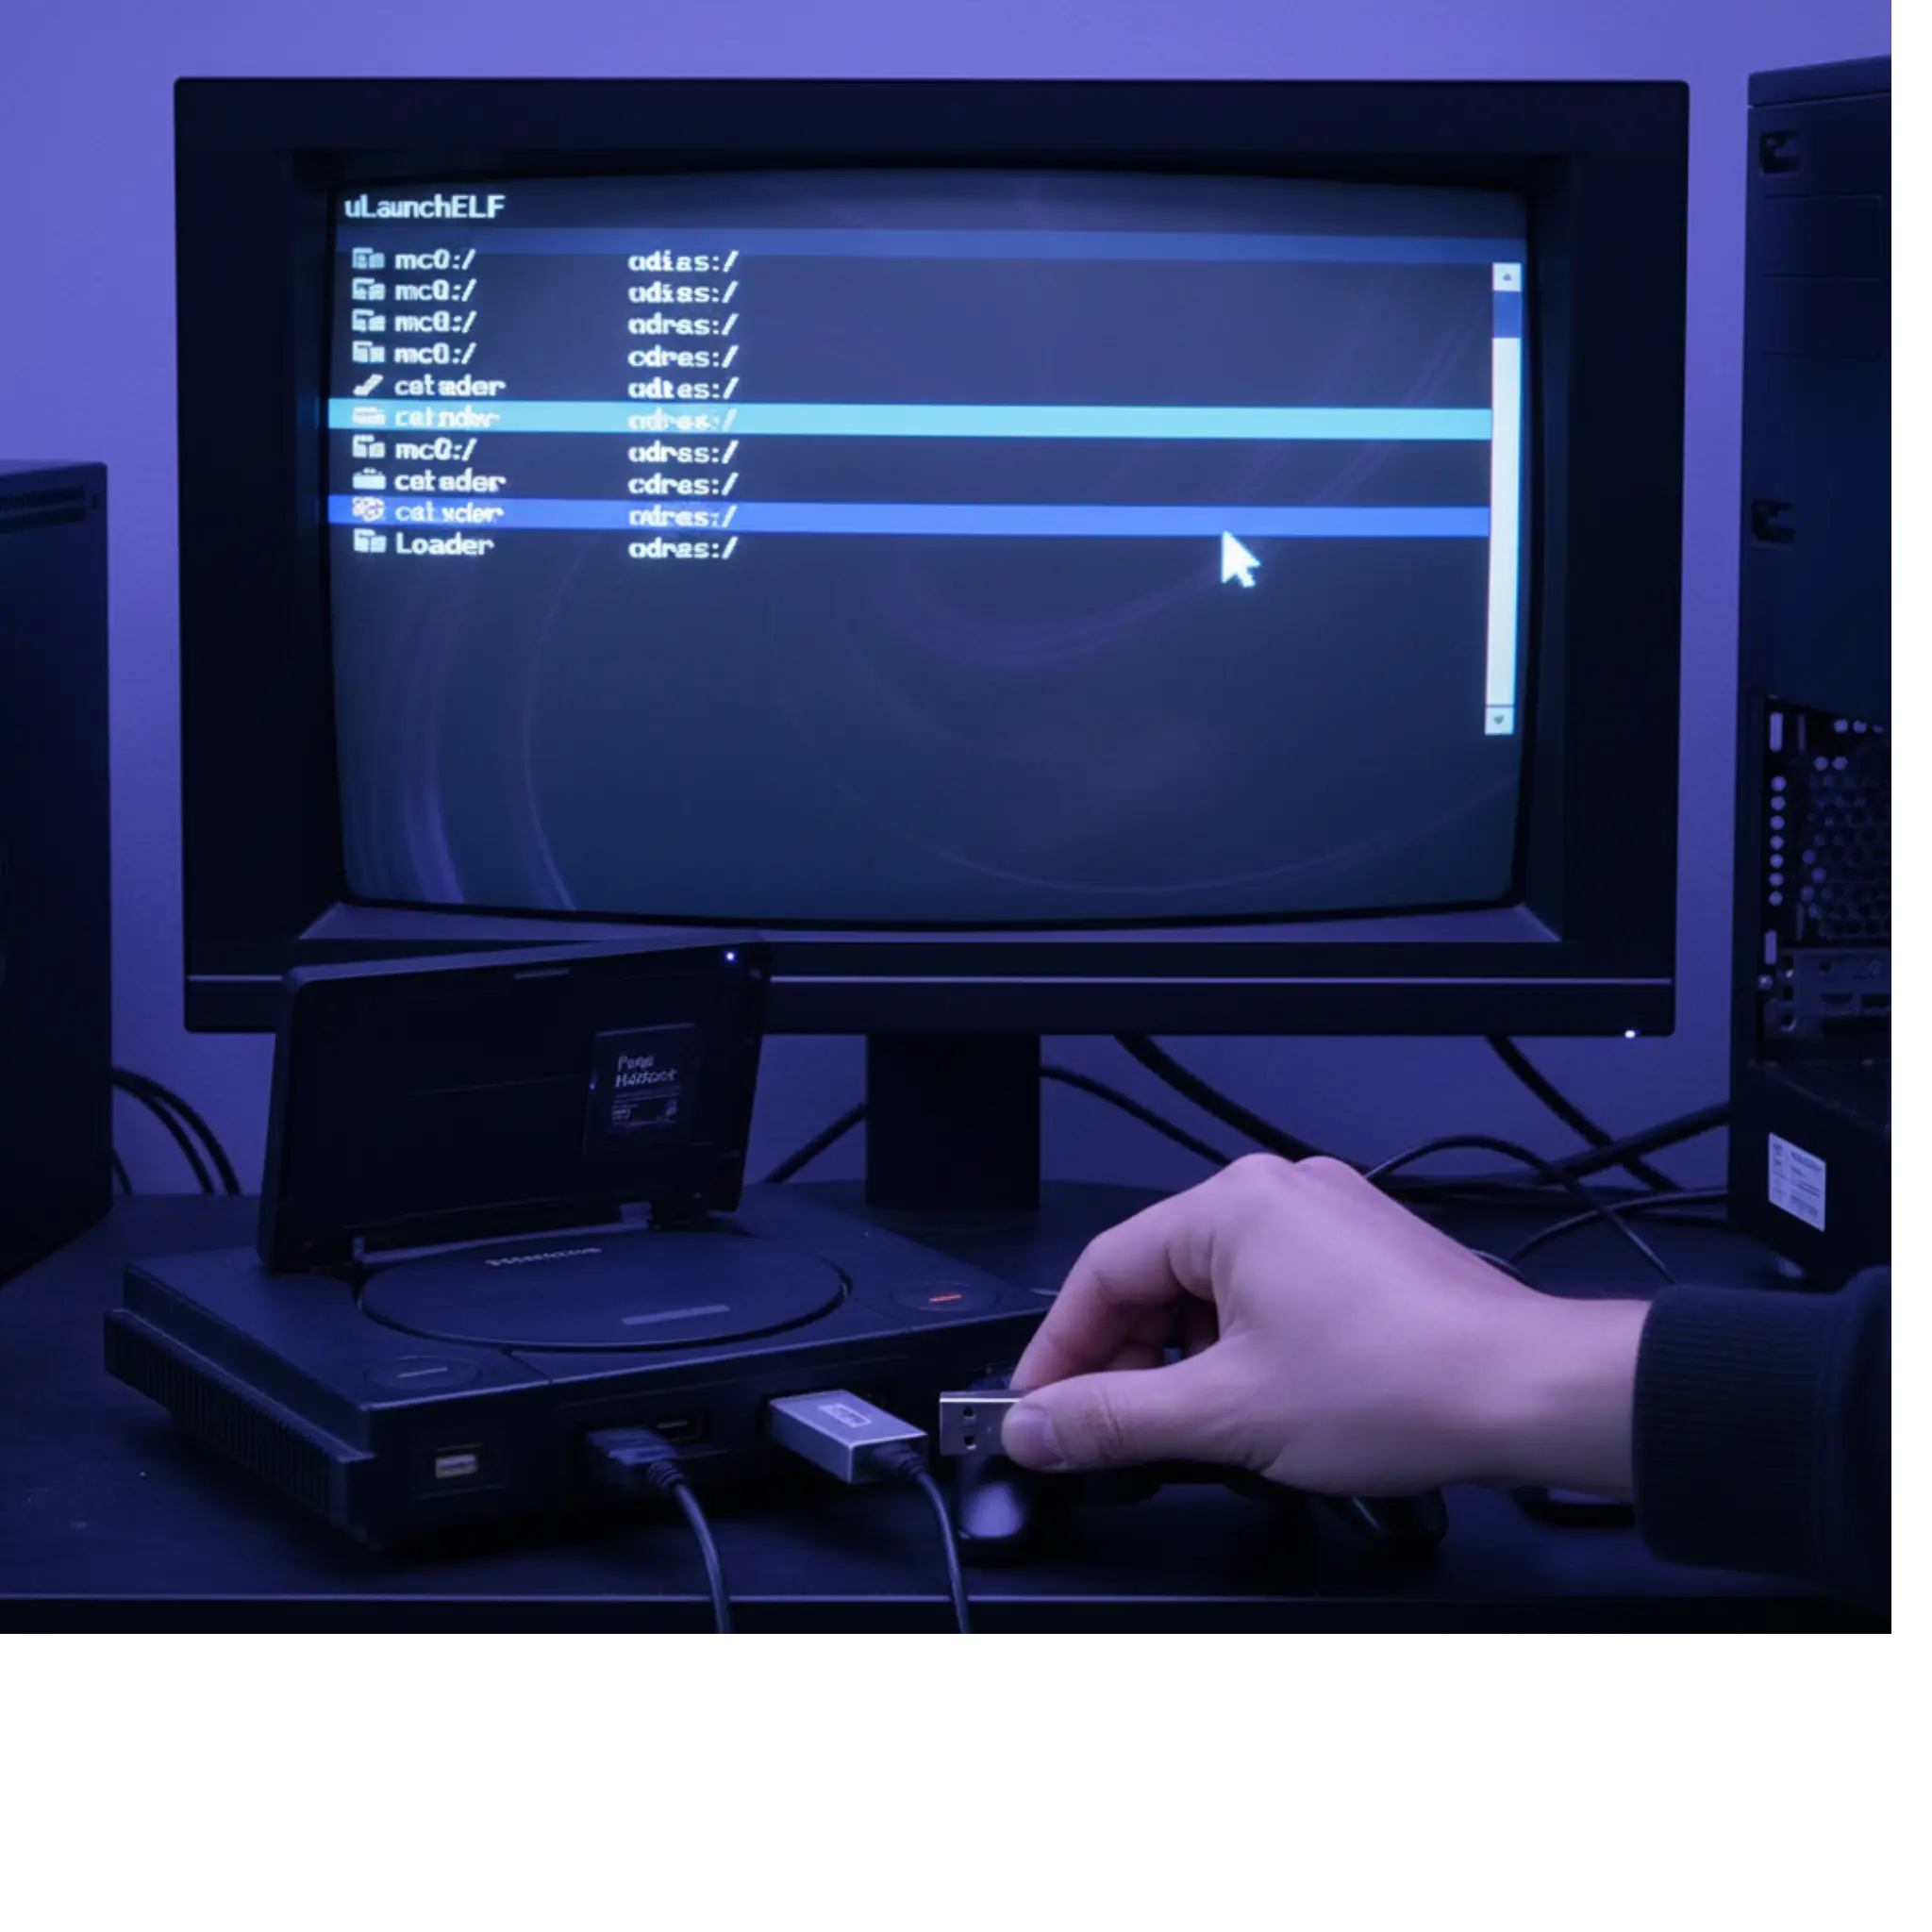
Step 1: Boot Into uLaunchELF

  • Turn on your PS2 with the FreeMcBoot memory card inserted or the FreeDVDBoot DVD in the drive to begin the PS2 Dumping BIOS process.
  • From the menu that appears, select uLaunchELF to launch the file browser.
Boot Into uLaunchELF

Step 2: Check Your USB Drive

  • TPlug your USB drive into the front USB port of the PS2.
  • In uLaunchELF, navigate to mass:/ (this is your USB drive) to make sure it’s detected.
  • If you don’t see your USB, try reformatting it or using a different USB stick.
Launch biosdrain.elf

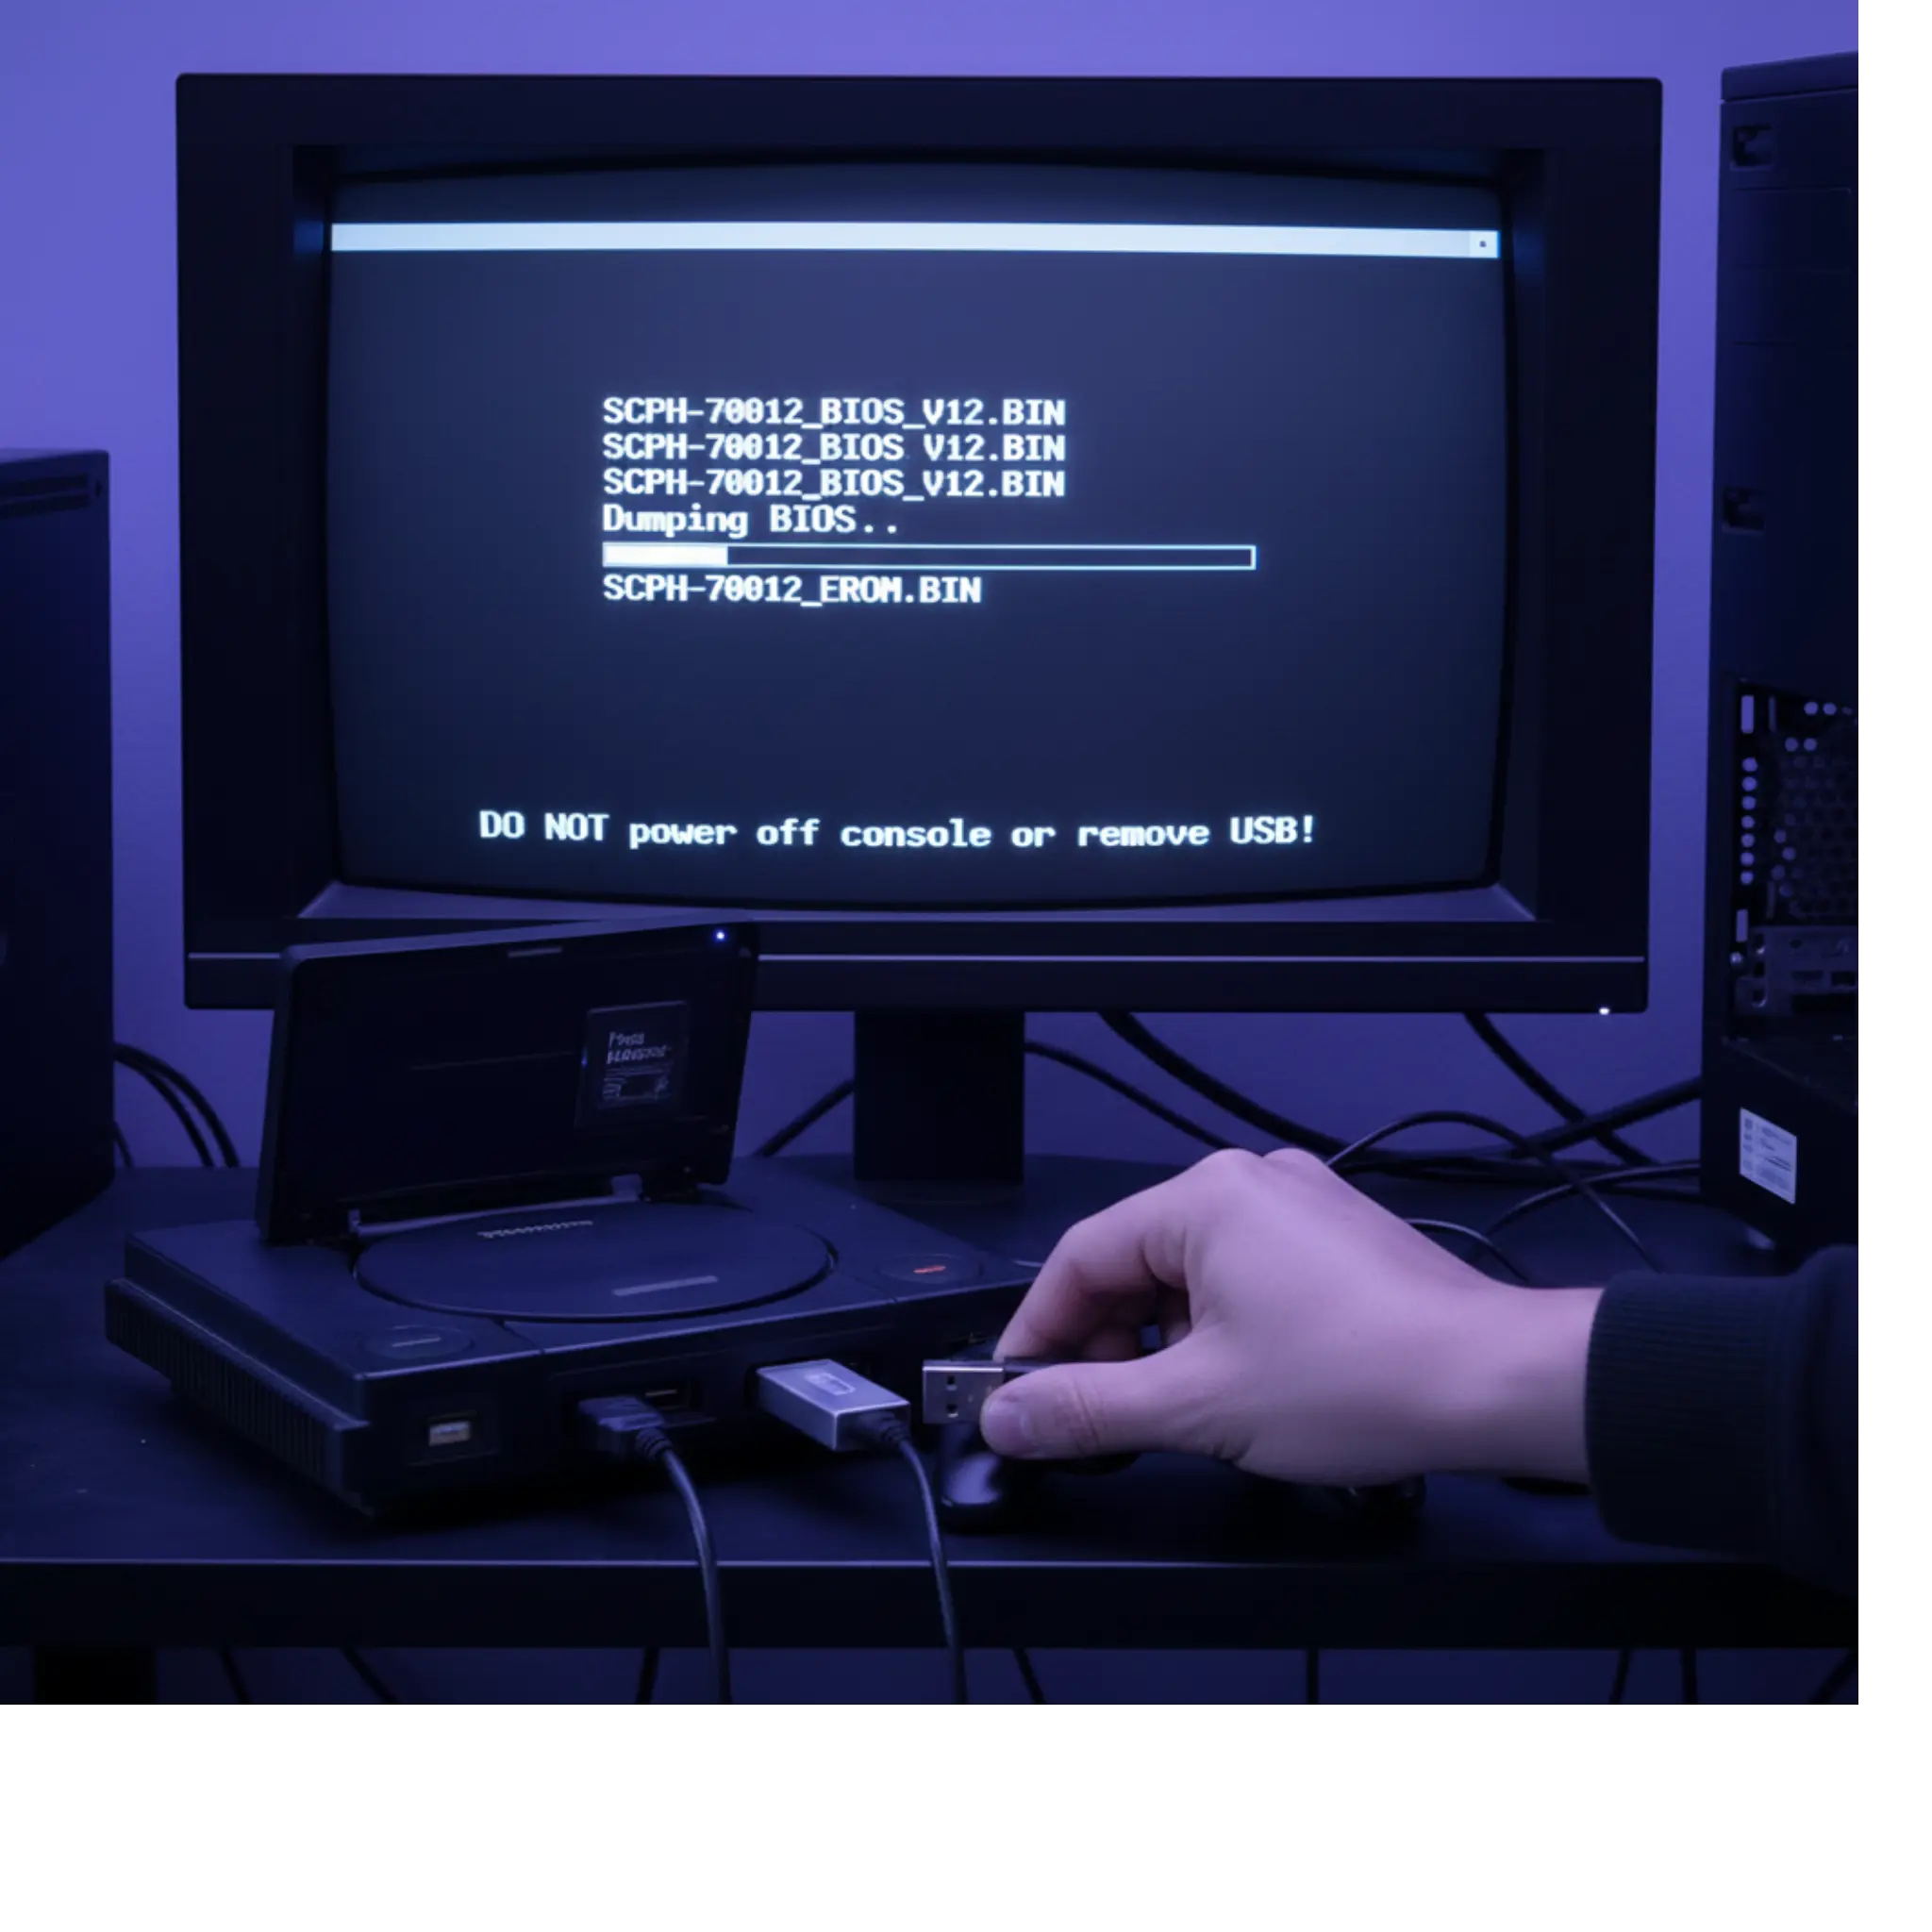
Step 3: Launch biosdrain.elf

  • TPlug yIn the mass:/ folder, highlight the file named biosdrain.elf.
  • Press O (Circle button) to run the program and start dumping the BIOS..
Launch biosdrain.elf

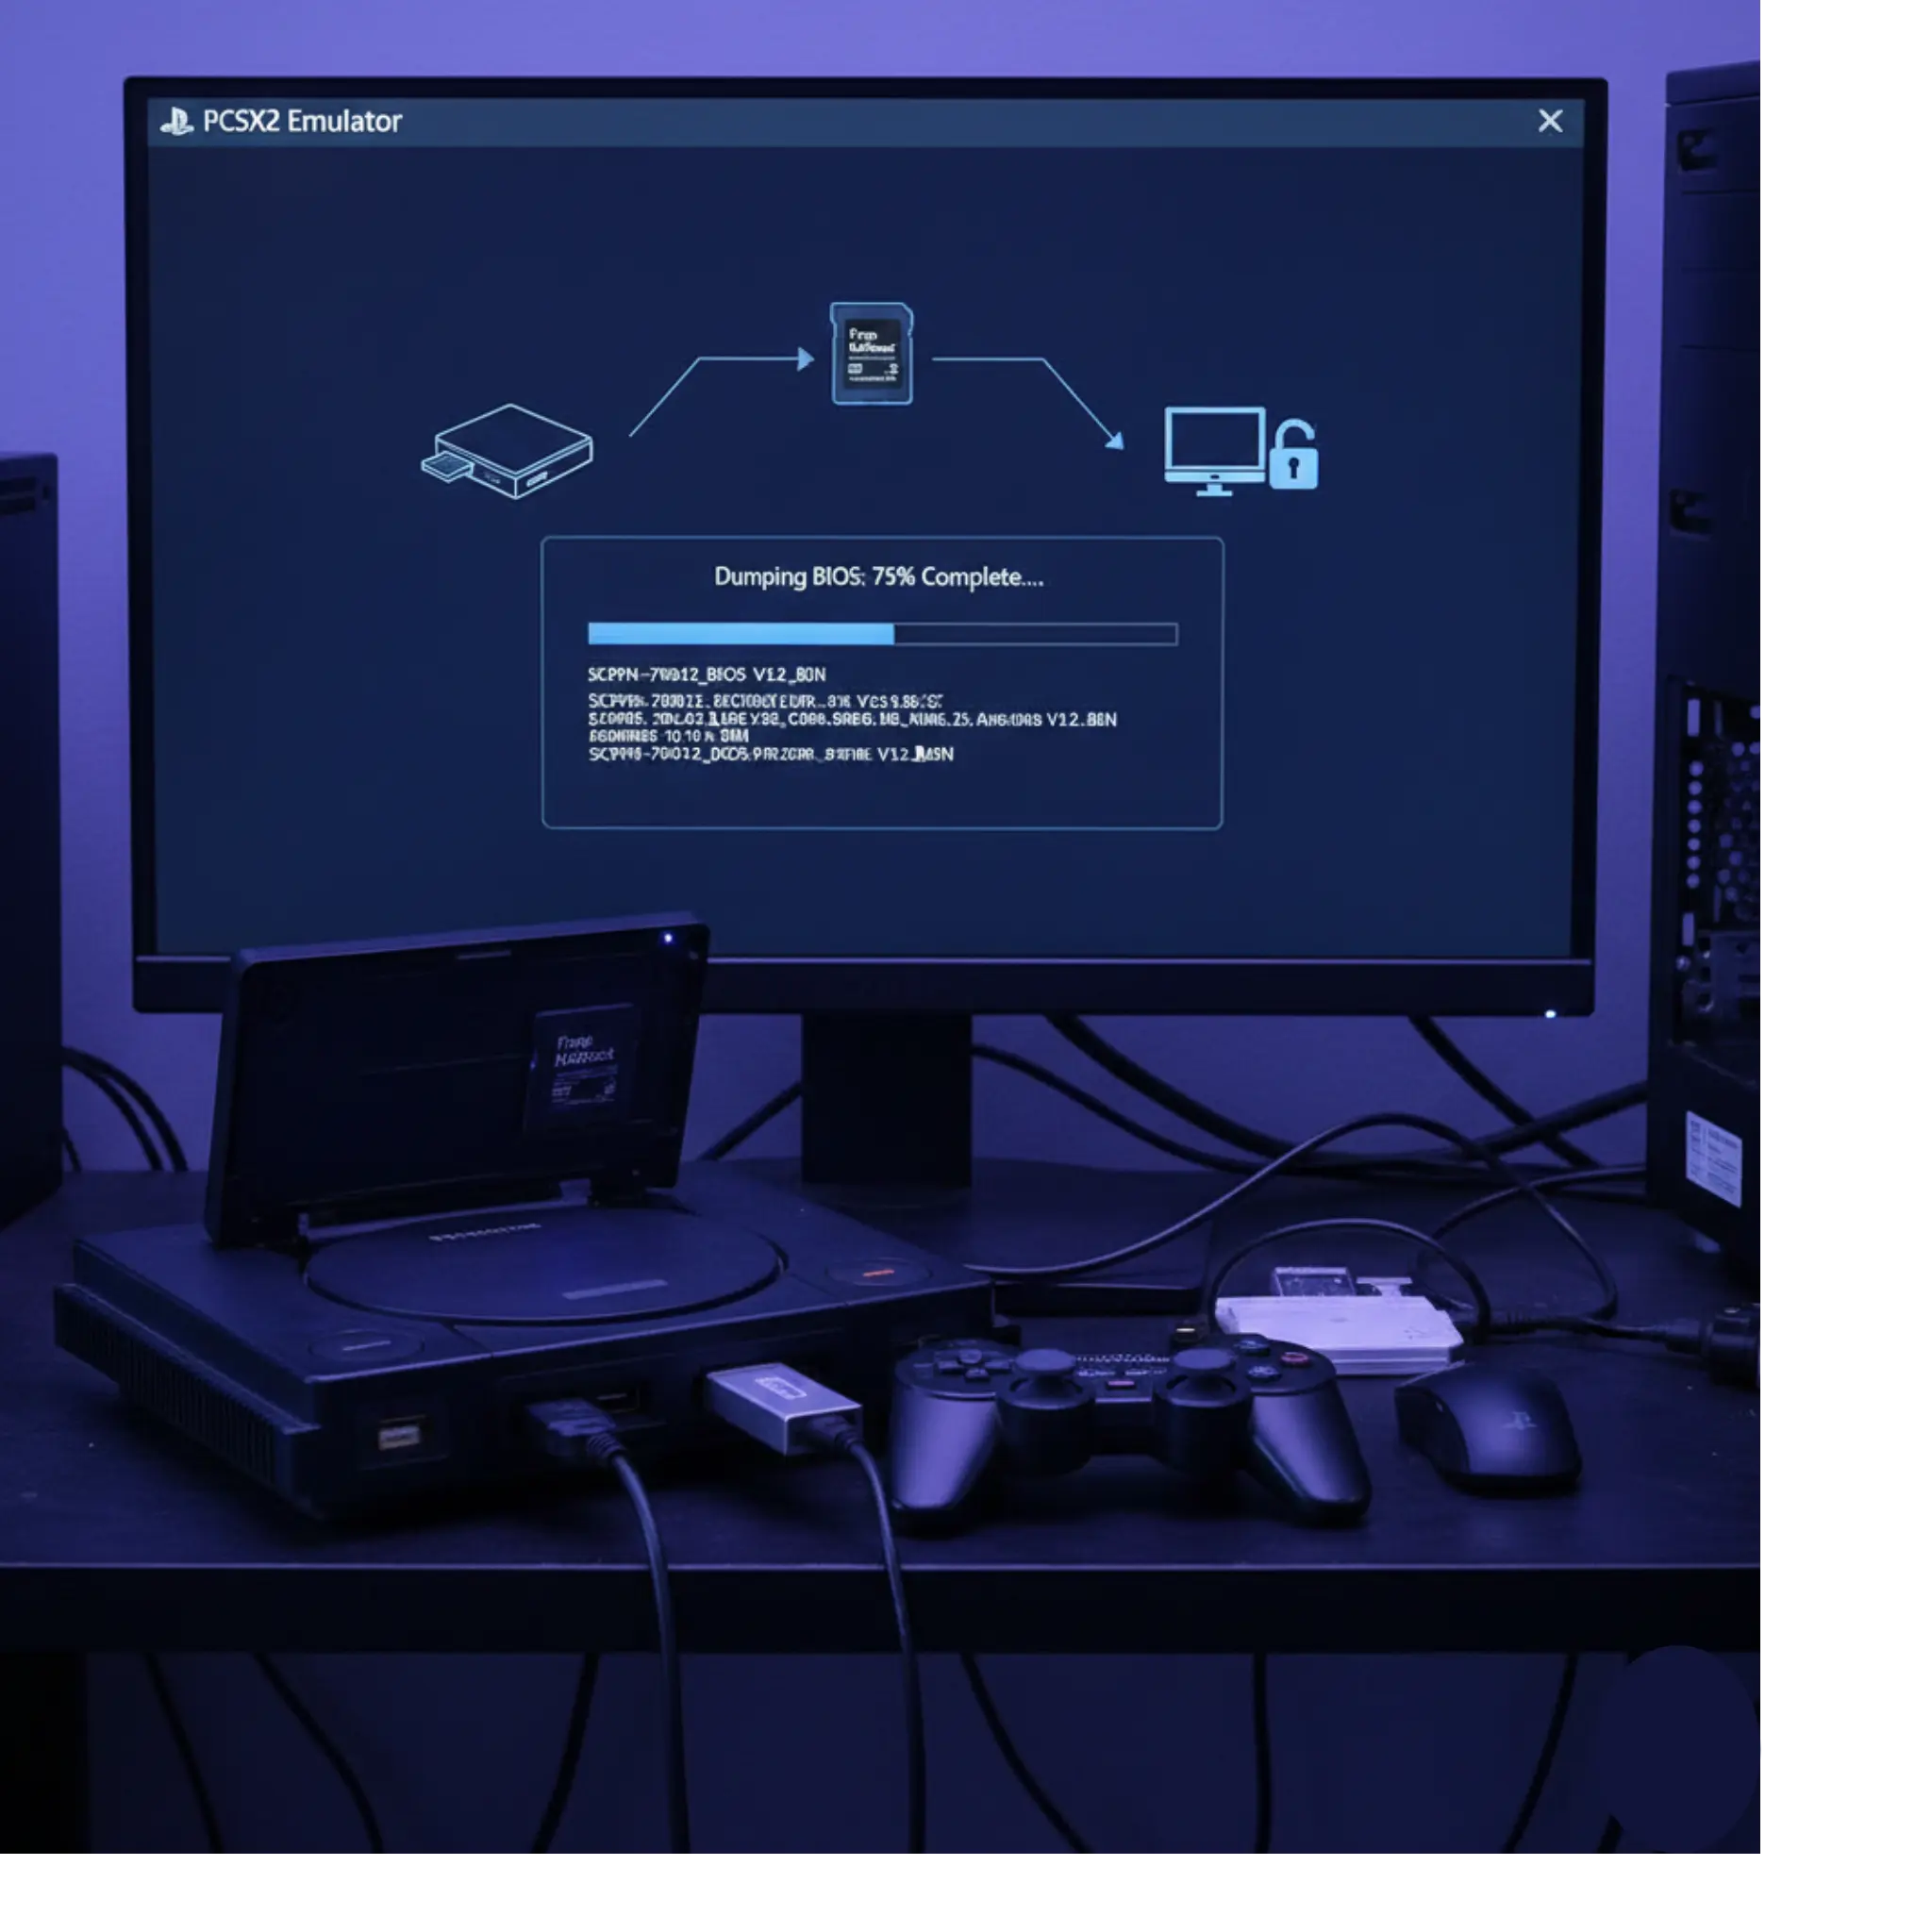
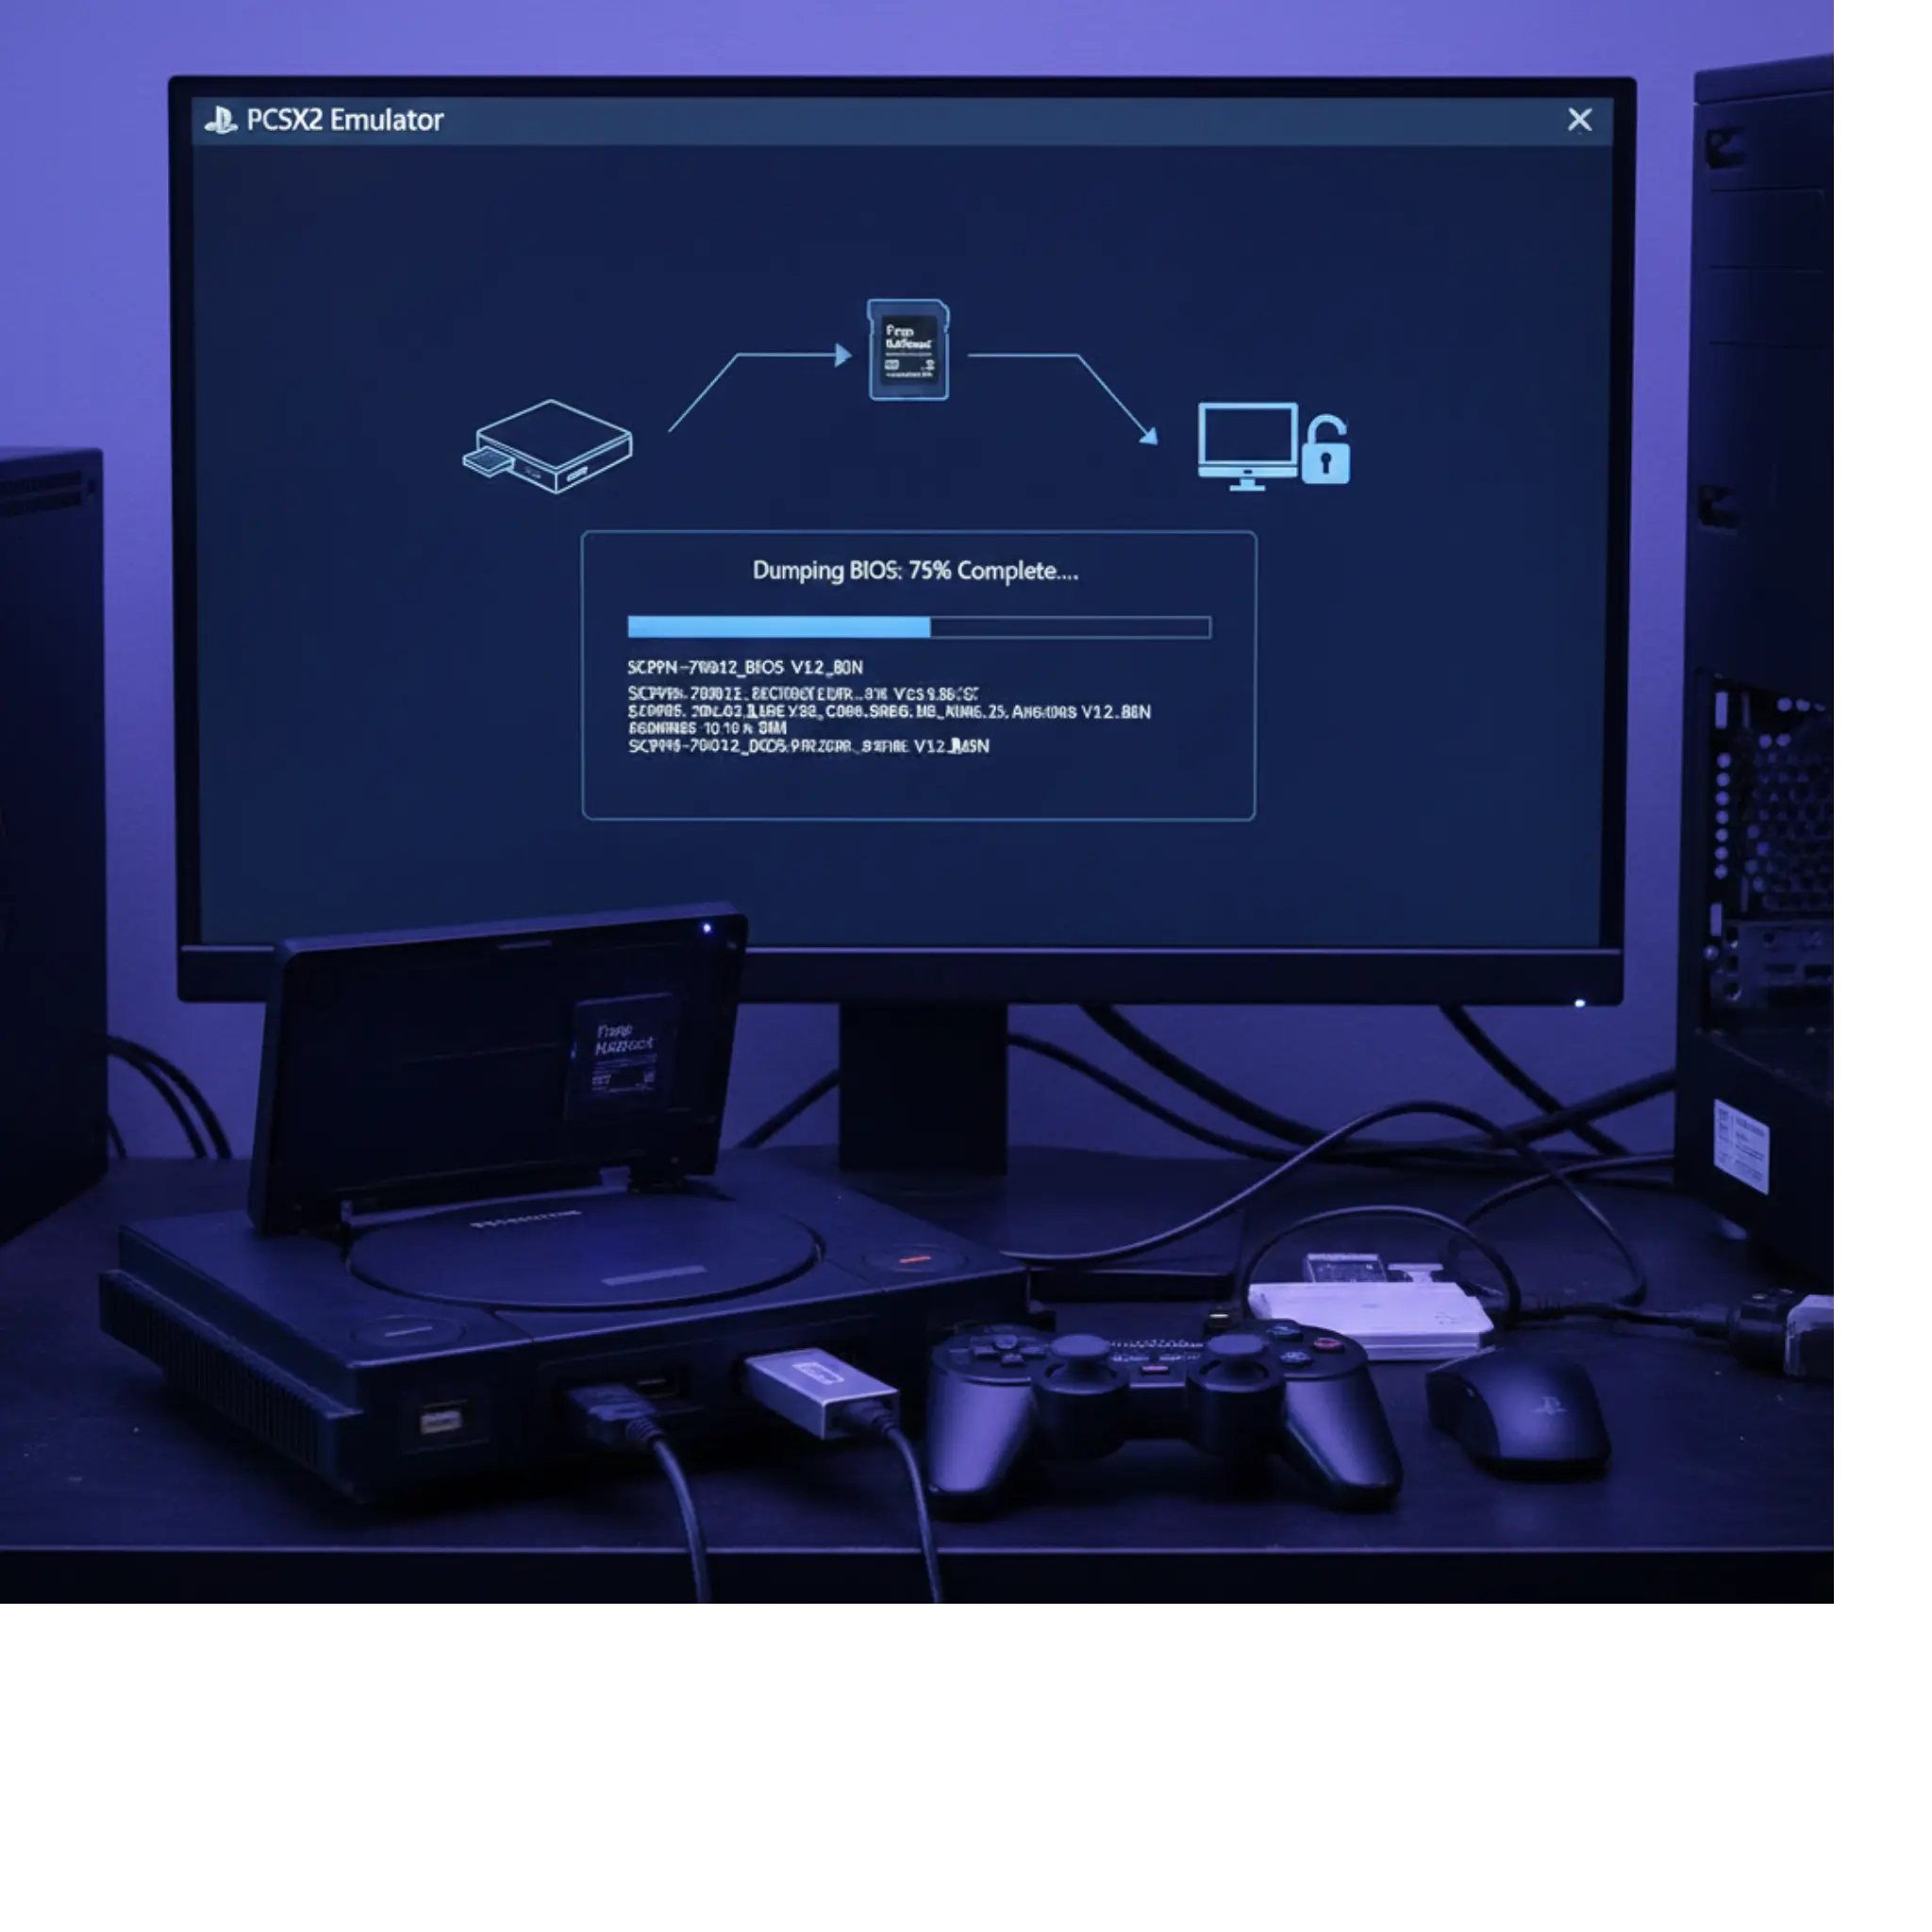
Step 4: Wait for the Dump

  • The dumping process can take between 5 to 15 minutes.
  • Do not turn off your PS2 or remove the USB drive during this time.
Wait for the Dump

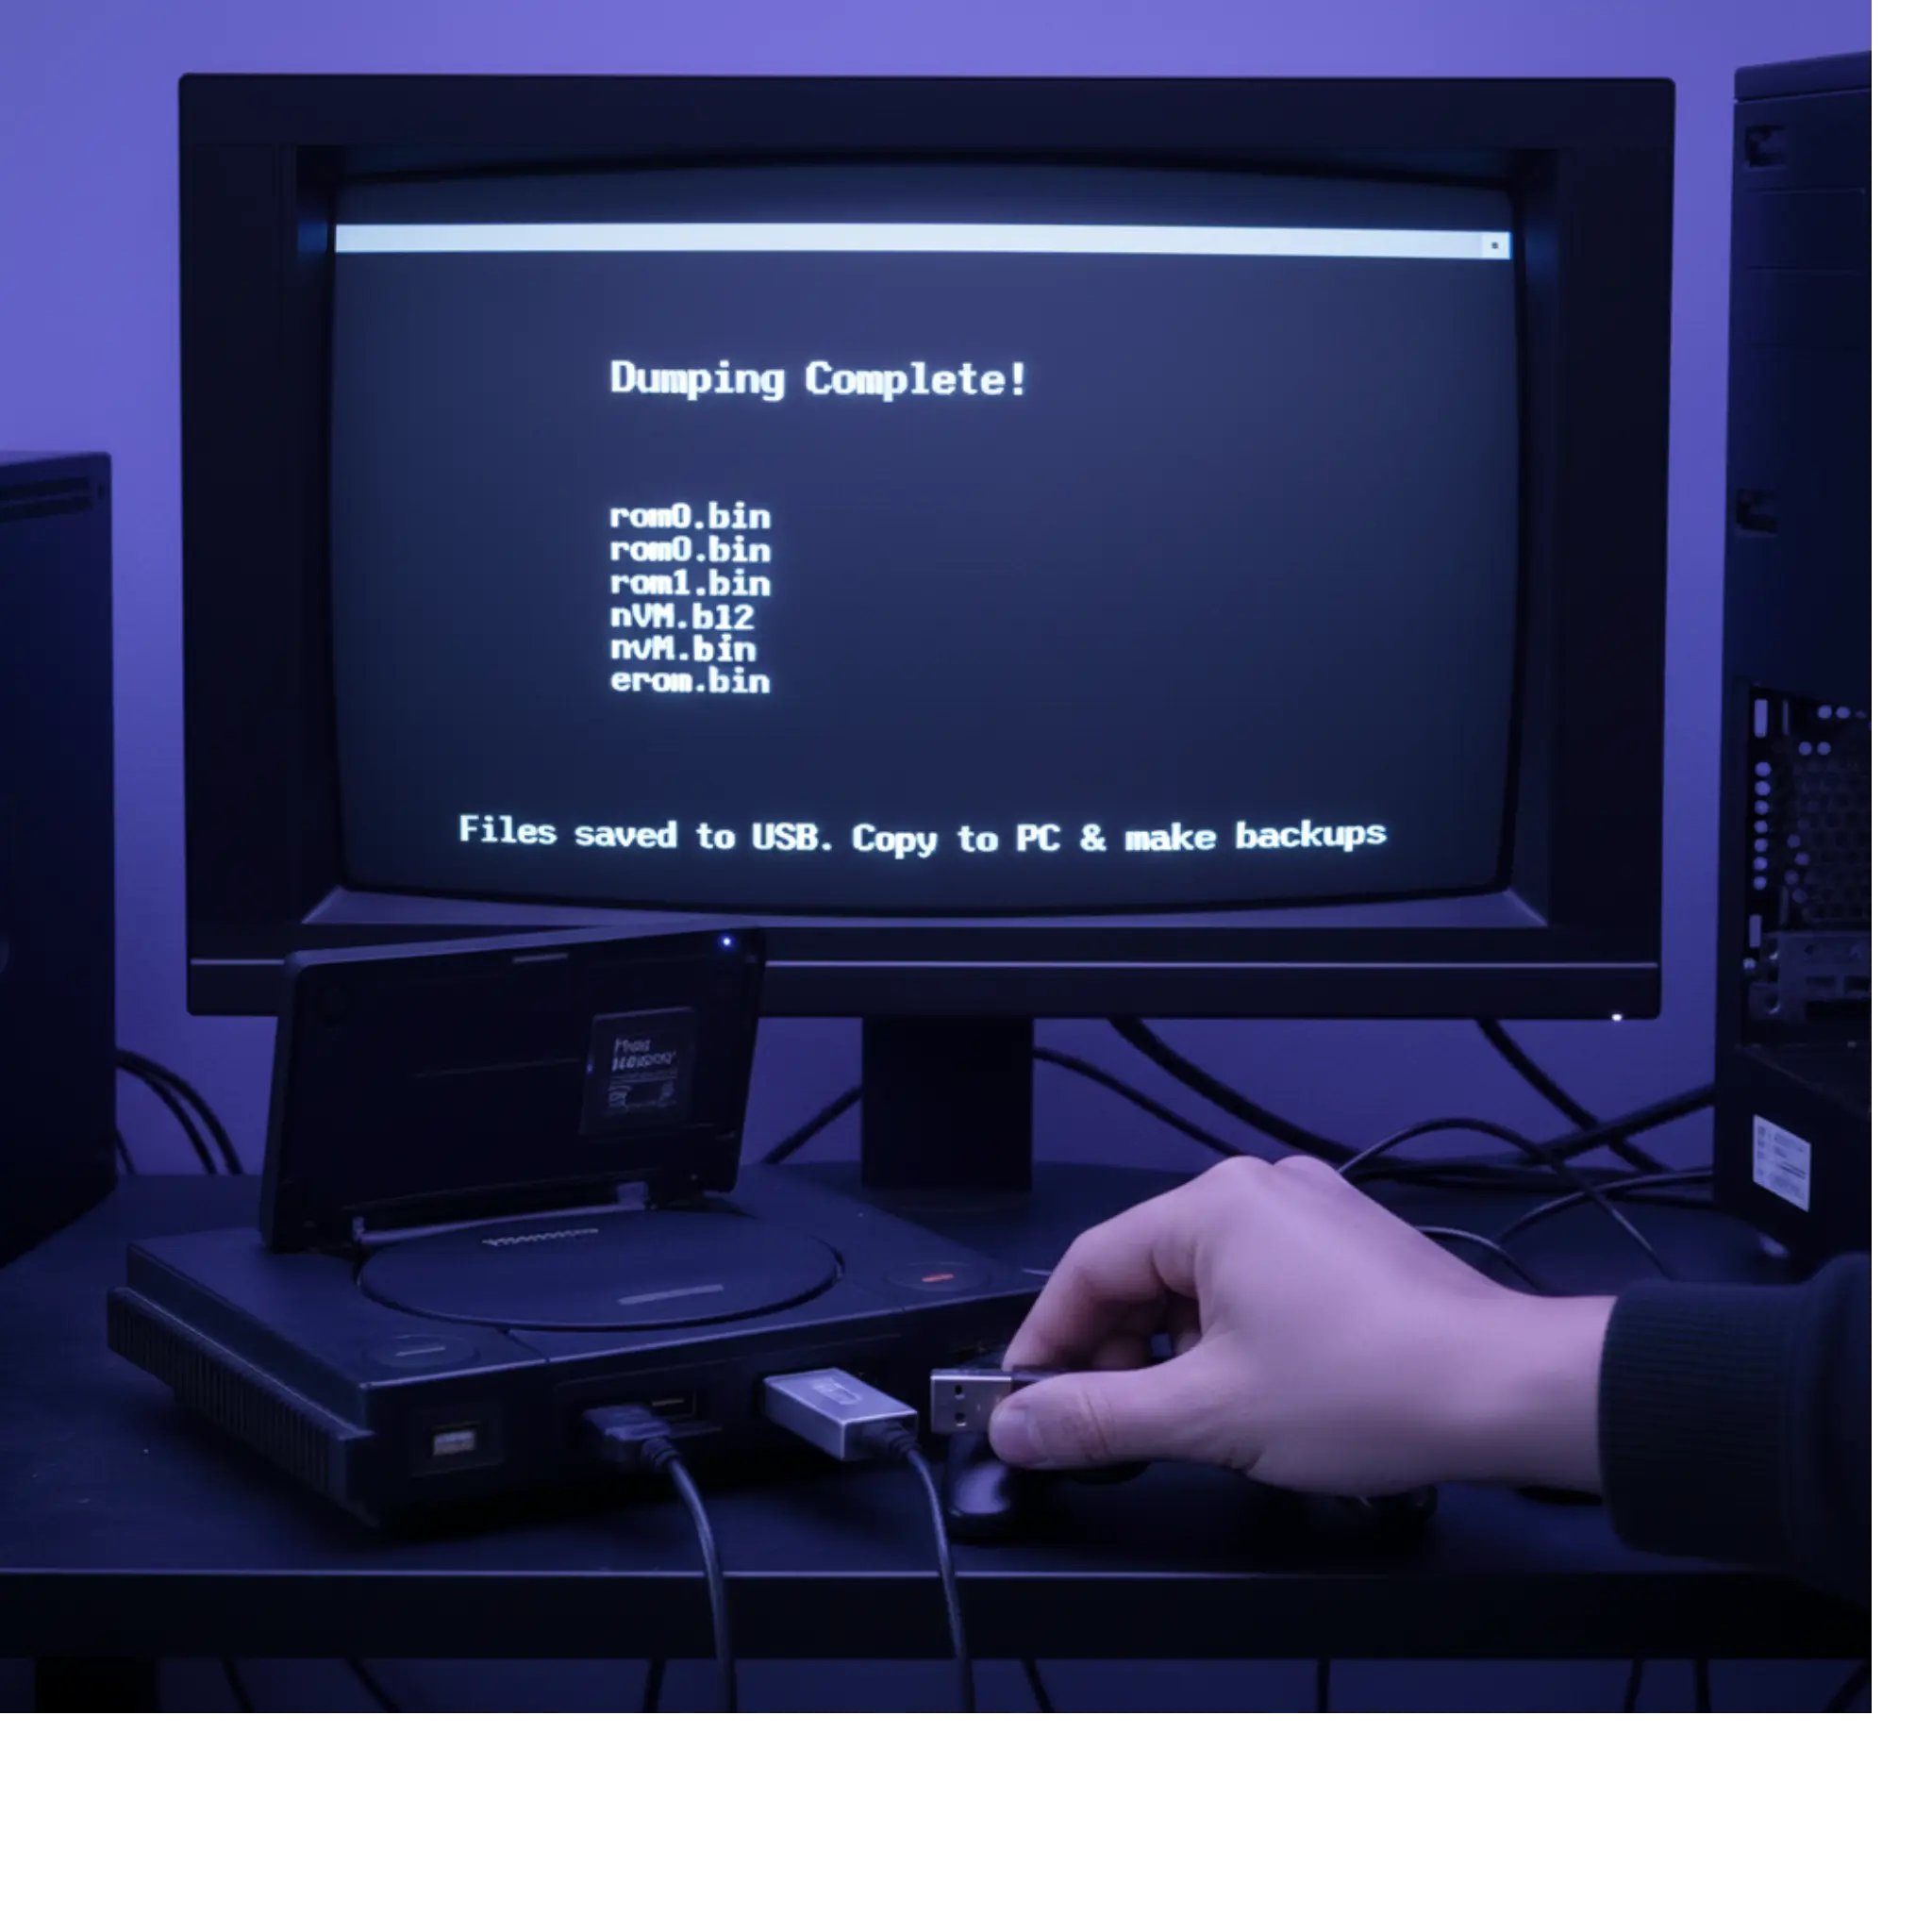
Step 5: Confirm and Save Files

  • When finished, the BIOS files will be saved to the root of your USB drive.
  • You should see files like rom0, rom1, rom2, nvm, and maybe a few others.
  • Copy these files to your PC and keep backups in a safe place for future use.
Save Files

Using the Dumped BIOS in PCSX2
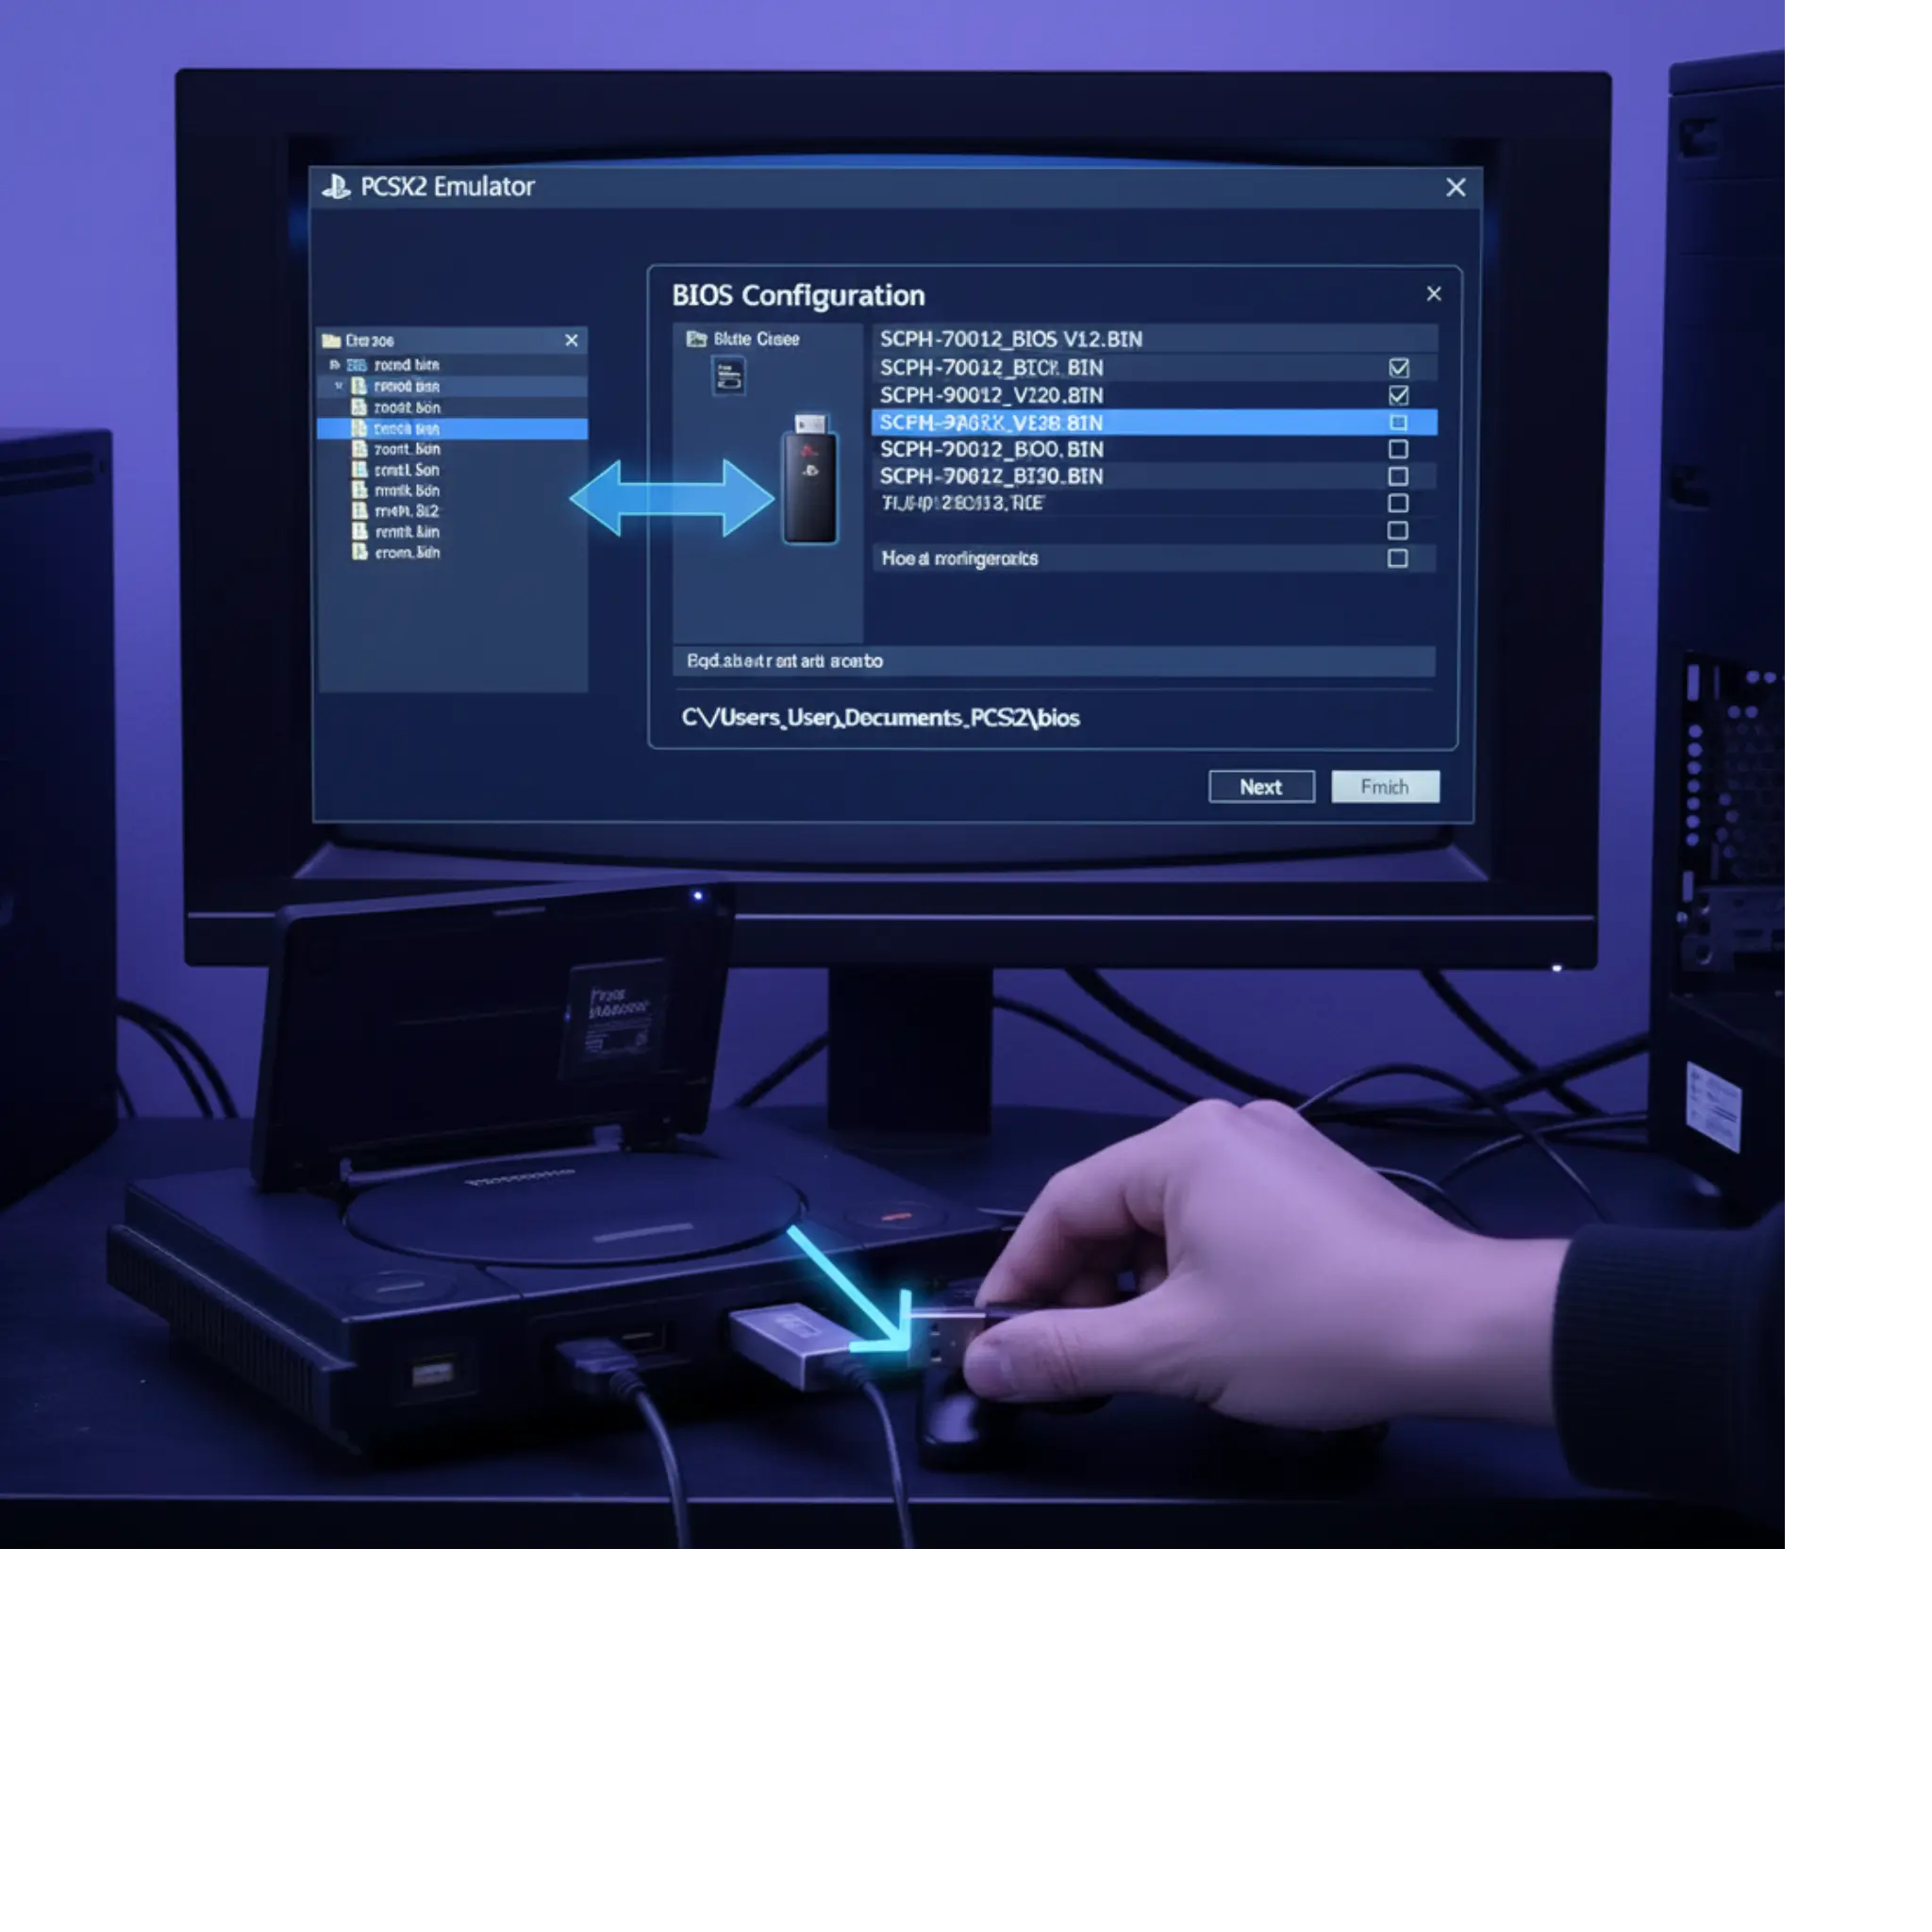
Organize BIOS Files

  • Create a folder for your BIOS files, for example: C:\PCSX2\bios
  • Copy all your dumped BIOS files (rom0, nvm, etc.) into this folder.

Setup PCSX2

  • Open the PCSX2 emulator on your PC.
  • Navigate to Config > Plugin/BIOS Selector > BIOS tab.
  • Click Browse and select the folder where you saved your BIOS files.
  • PCSX2 will scan and display your PCSX2 BIOS files from the PS2 Dumping BIOS process. Select it and click OK or Save.

Now your PCSX2 emulator is fully set up after completing PS2 Dumping BIOS, and you’re ready to launch your favorite PlayStation 2 games. With the legal BIOS from your own console, you can enjoy smooth, authentic gameplay while staying safe and compliant.

Troubleshooting Common Issues

USB Drive Not Detected?

  • Make sure your USB is formatted as FAT32 with MBR partition scheme.
  • Try using a different USB stick, preferably an older USB 2.0 drive.
  • Keep all file and folder names simple—avoid spaces and special characters.

SetuaBIOS Dump Fails or Files Are Corruptp PCSX2

  • Do not interrupt the dumping process by turning off the console or removing the USB.
  • If you have modchips installed, temporarily disable them as they may interfere.
  • Try downloading fresh copies of biosdrain.elf and uLaunchELF to fix issues during PS2 Dumping BIOS, especially if your files are corrupted.

Missing Files After Dumping?

  • You need at least the rom0 and nvm files for PCSX2 to work properly.
  • If you’re on a Mac, make sure to enable viewing hidden files in Finder.
  • If you’re on a Mac and using PS2 BIOS for Mac, make sure to enable viewing hidden files in Finder to properly access your PS2 Dumping BIOS files.

FreeMcBoot or FreeDVDBoot Not Working?

  • Some late model Slim PS2 consoles (especially the “9x” series) can be tricky—try FreeDVDBoot if FreeMcBoot doesn’t work.
  • Older Fat PS2 models might require BIOS files with different naming; check PCSX2 documentation for specifics.

Pro Tips for Long-Term Success

  • When finAlways back up your BIOS files to a cloud service or external storage to avoid losing them.
  • You can legally use your dumped BIOS on multiple PCs, as long as it’s from your own console.
  • When making changes or updates, stick with the same boot method (FreeMcBoot or FreeDVDBoot) that worked for you initially.
  • The PCSX2 forums and communities are excellent resources for troubleshooting, tips, and advanced configurations—don’t hesitate to explore them!.
Pro Tips

After the Dump: What Now?

Game Compatibility

PCSX2 supports a massive collection of PS2 games, making it one of the best emulators for PlayStation 2. However, to get started, you must first complete PS2 Dumping BIOS from your own console, since the emulator cannot run without it. If you run into problems with a specific game after setting up your BIOS, you can always check the official PCSX2 wiki or forums for fixes, patches, and workarounds shared by the community.

After the Dump

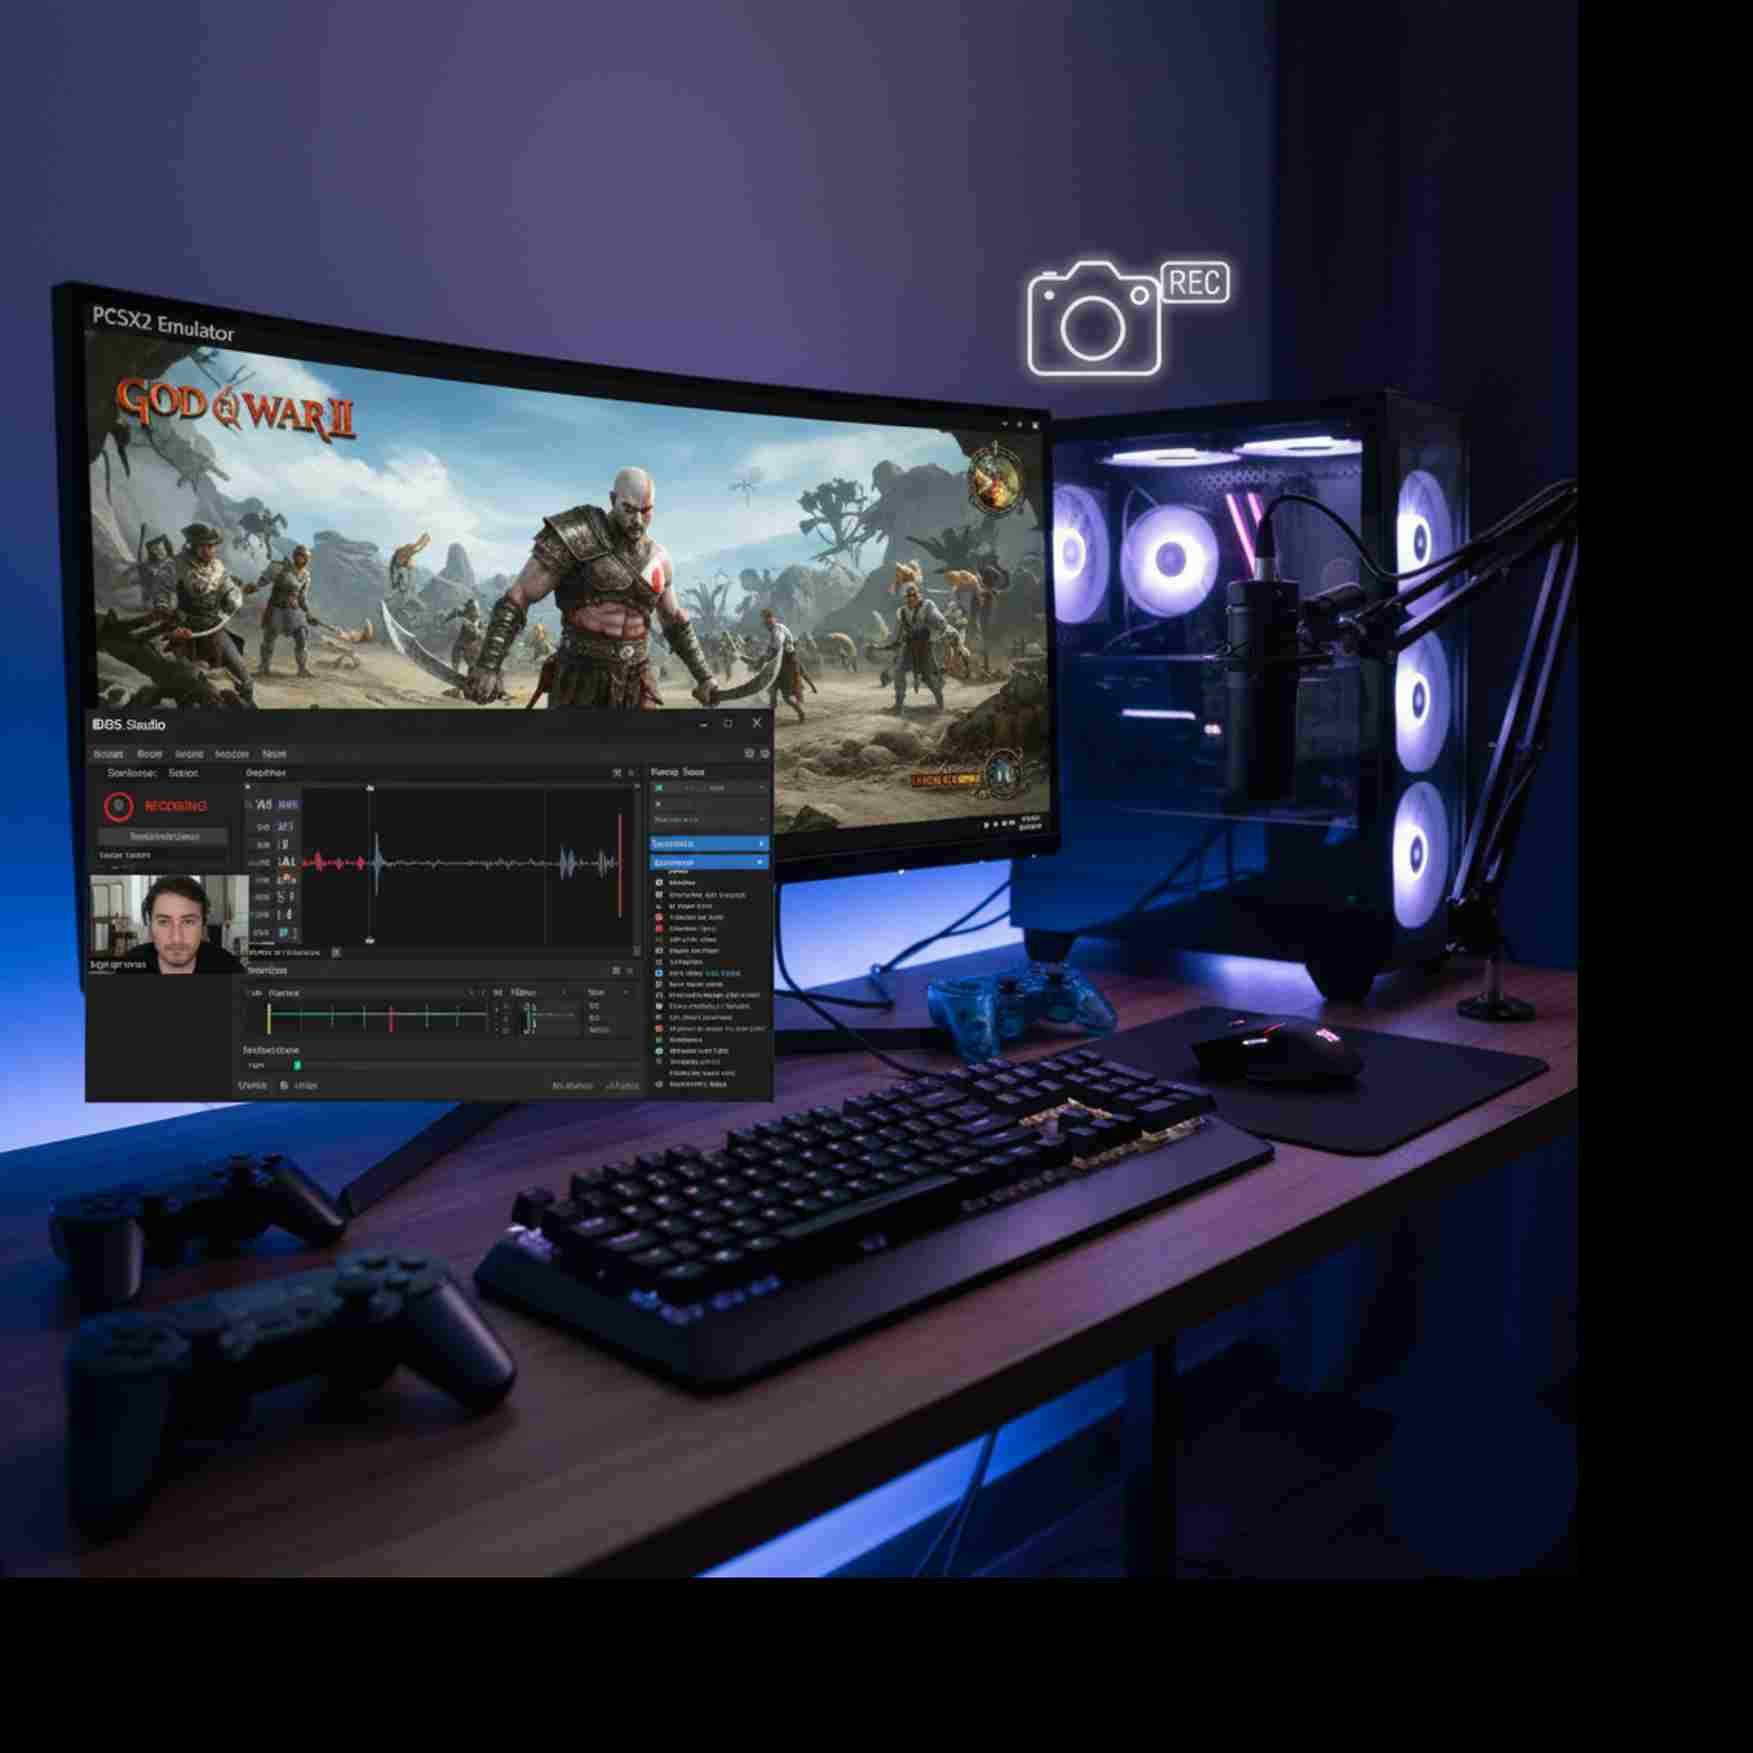
Record & Stream Gameplay

Want to share your gameplay after setting up PS2 Dumping BIOS? You can use recording and streaming software like OBS to capture your sessions directly from PCSX2. This way, you not only enjoy smooth PS2 emulation but also showcase your favorite games online with high-quality video and audio.
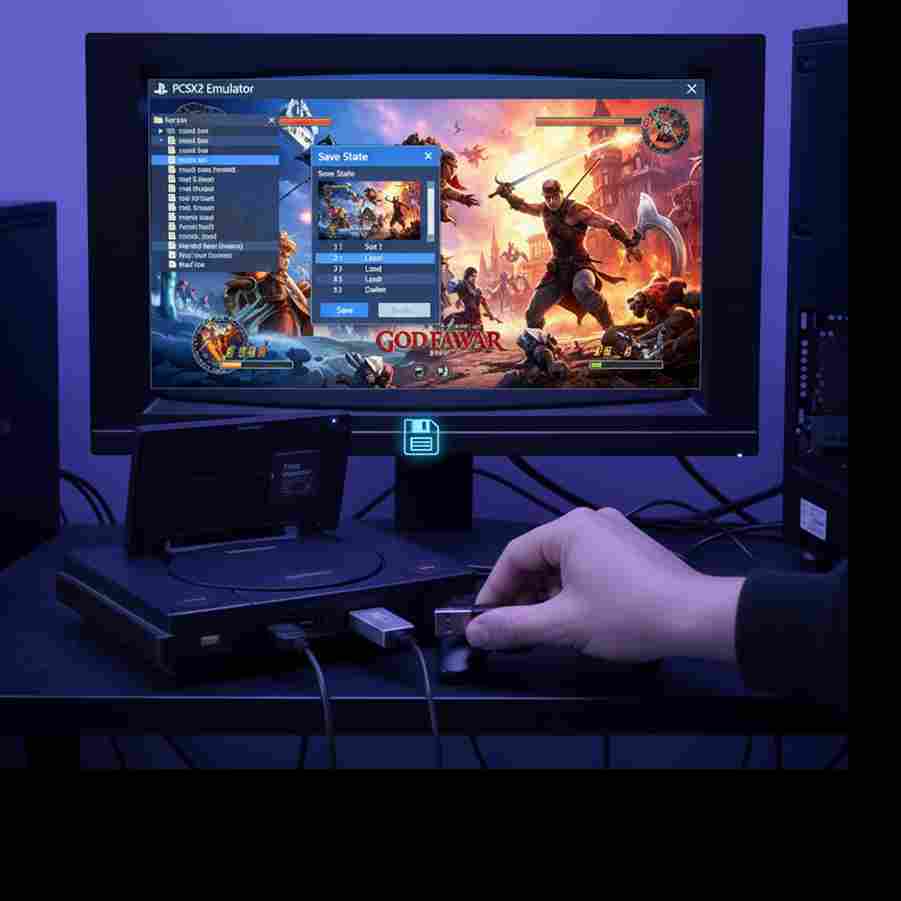
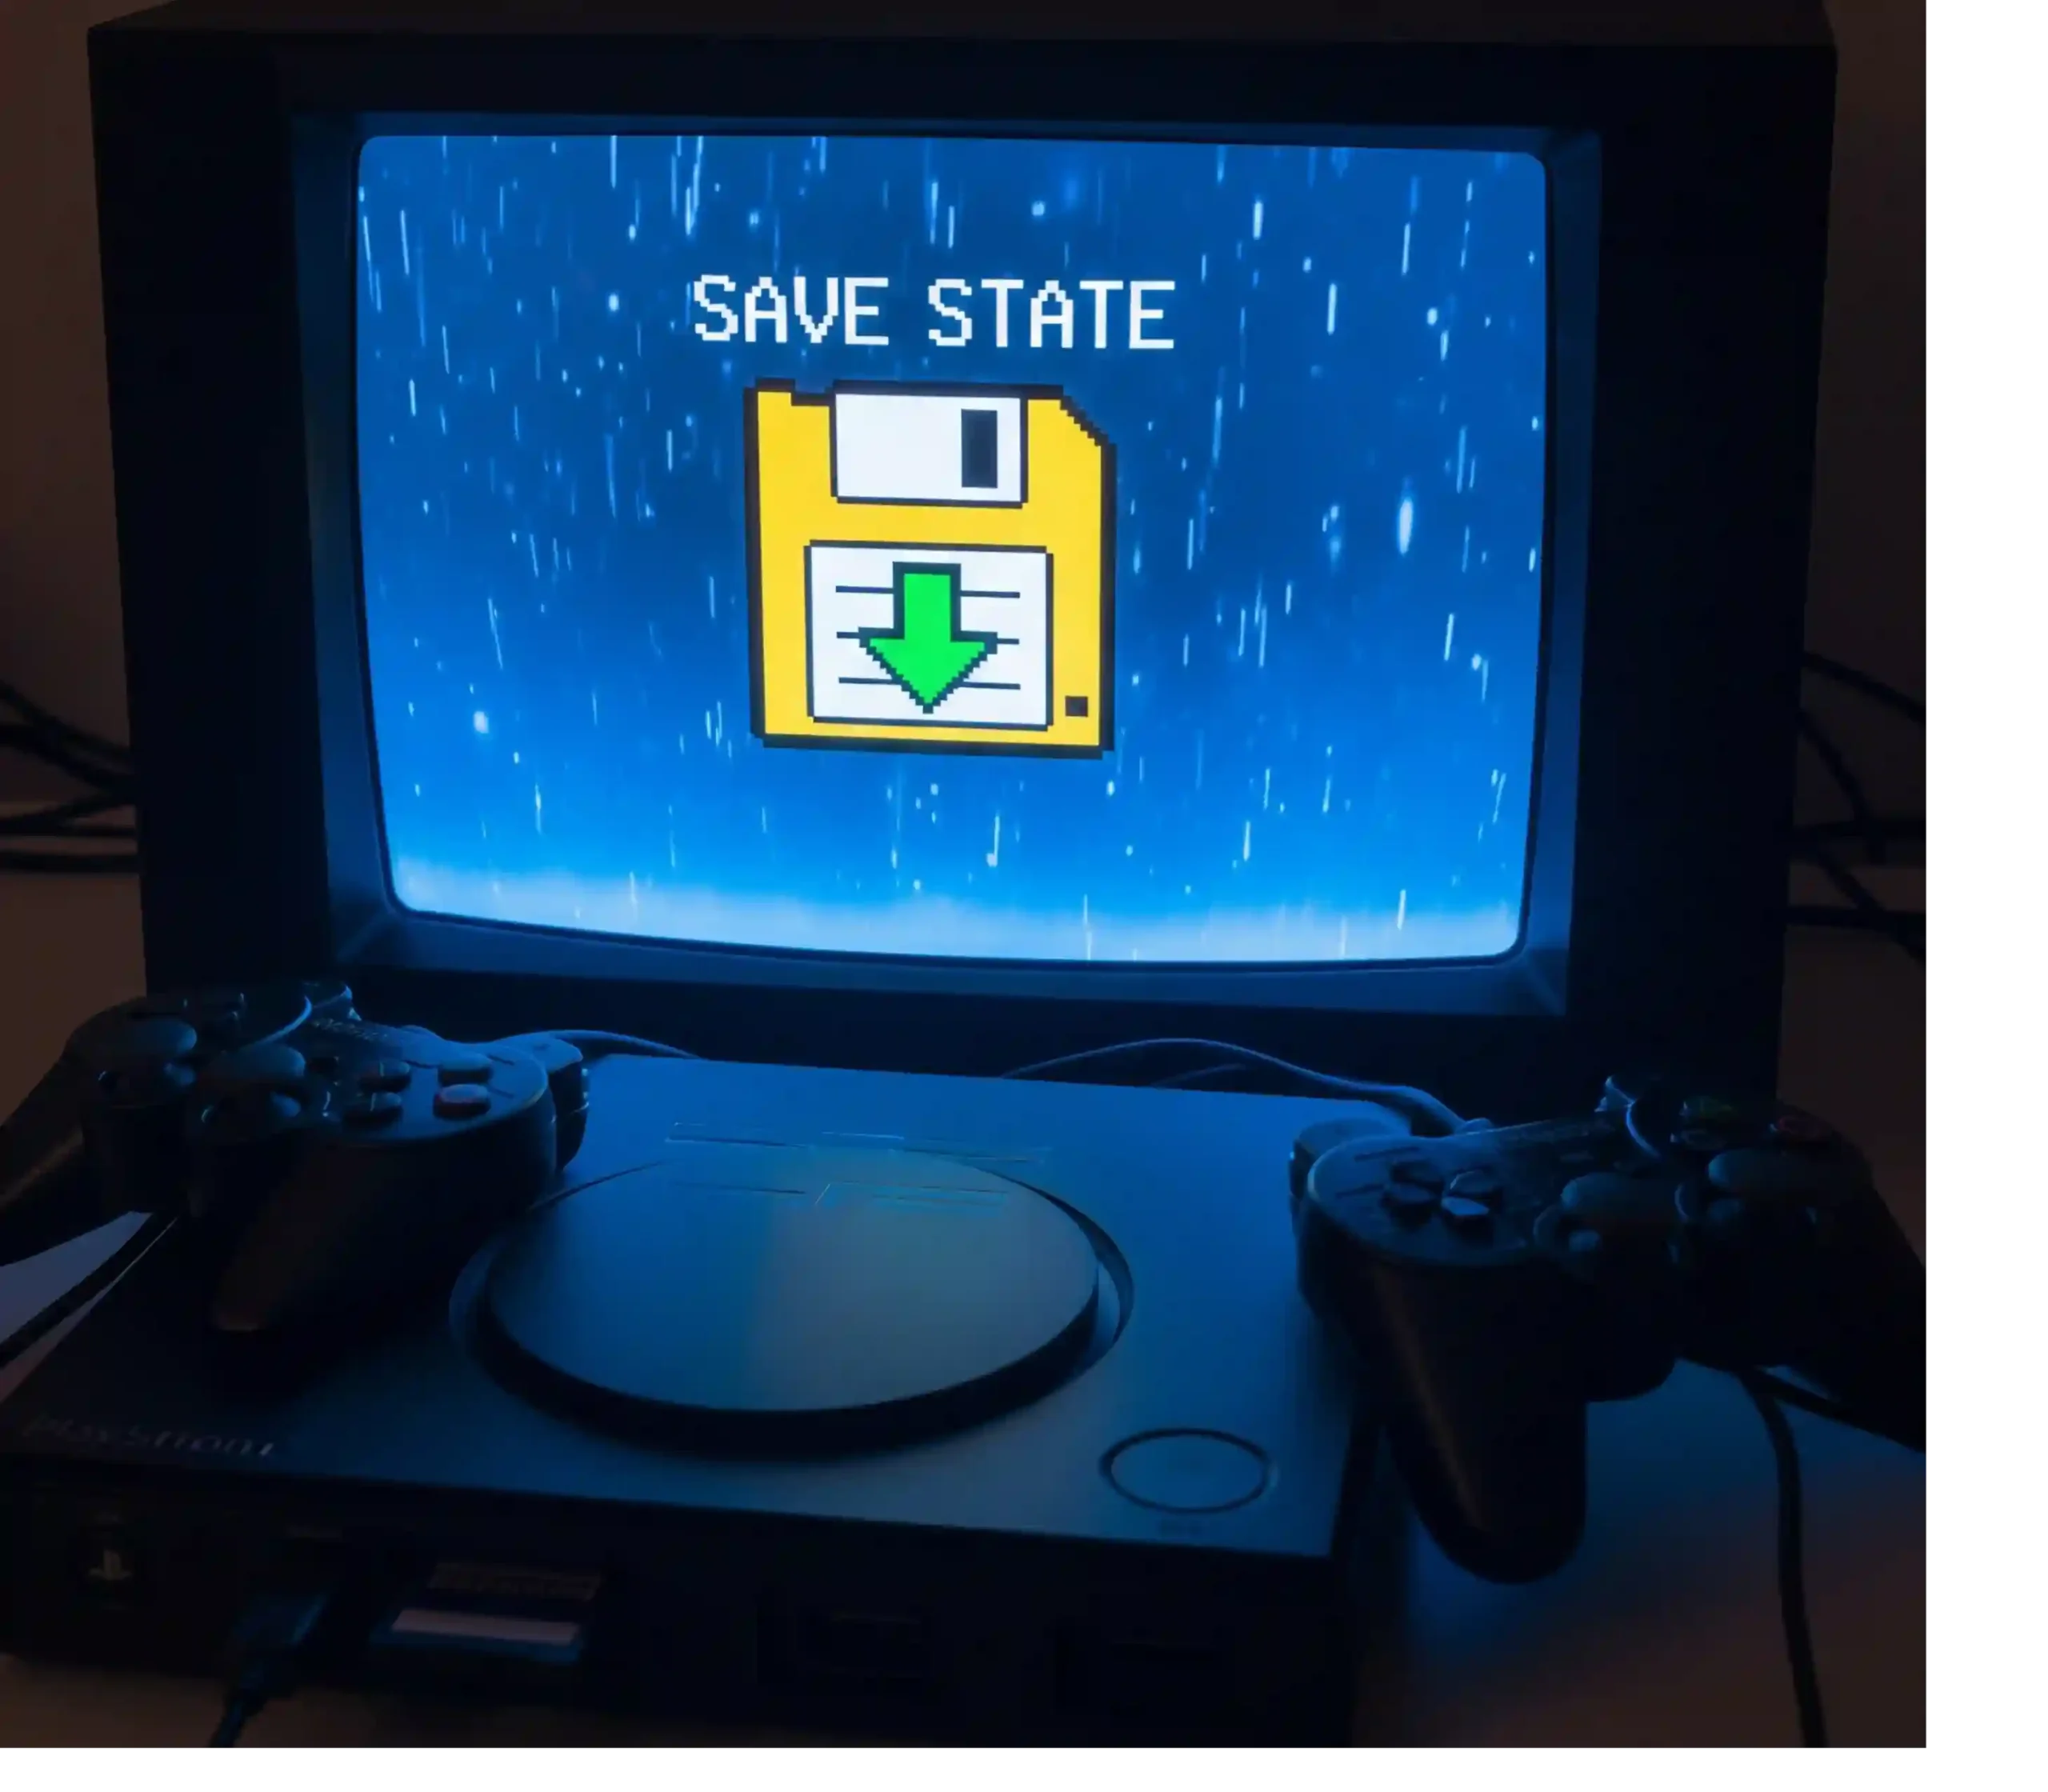
Stream Gameplay

Use Save States

One of the biggest benefits of setting up PS2 Dumping BIOS with PCSX2 is access to modern features like save states. With save states, you can save your progress anytime, anywhere—something the original PS2 hardware never offered. This makes gameplay more flexible and convenient, especially for challenging titles.

Use Save States

Try Widescreen Mods, HD Packs, and More

After completing PS2 Dumping BIOS, you can enhance your emulation experience even further with PCSX2. Take advantage of widescreen hacks, HD texture packs, and customizable controls to match your play style. These upgrades bring classic PS2 games to life with modern visuals and smoother gameplay.

Widescreen Mods, HD Packs

FAQs

  • 5–15 minutes. USB on PS2 is slow.

Similar Posts

Leave a Reply

Your email address will not be published. Required fields are marked *